ZZ Plant Care for Beginners

Jose Brito
I’m Jose Britto, the writer behind The Country Store Farm Website. I share practical, down-to-earth gardening advice for home growers—whether you’re starting your first raised bed, troubleshooting pests, improving soil, or figuring out what to plant next. My focus is simple: clear tips you can actually use, realistic expectations, and methods that work in real backyards (not just in perfect conditions). If you like straightforward guidance and learning as you go, you’re in the right place.
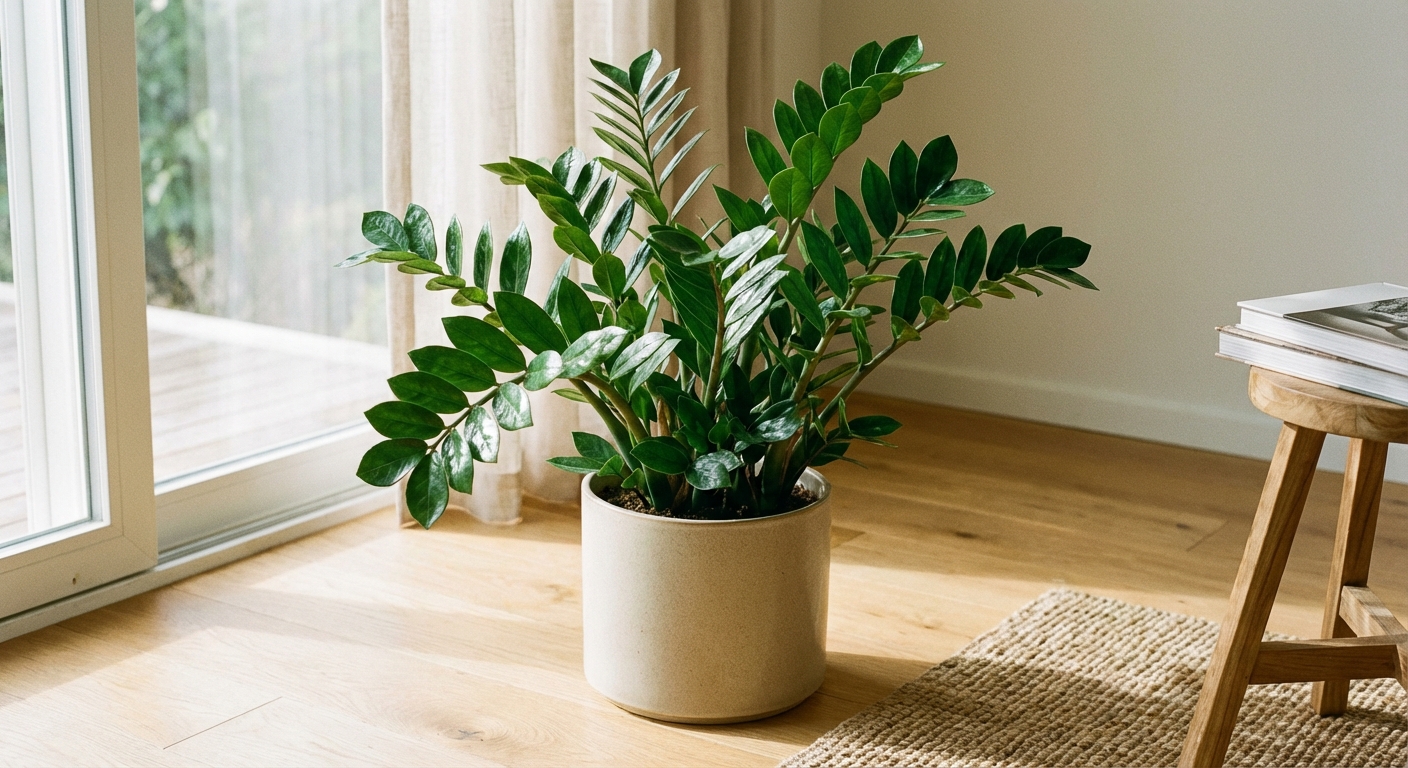
The ZZ plant (Zamioculcas zamiifolia) is popular for one simple reason: it puts up with a lot. Low light, missed waterings, busy schedules, forgetful plant owners. It is one of the most forgiving houseplants you can grow.
But “hard to kill” is not the same as “can’t be killed.” The most common way beginners lose a ZZ plant is overwatering. If you get the watering and soil drainage right, you are 90 percent of the way to success.
Quick ZZ plant basics
- Botanical name: Zamioculcas zamiifolia
- Growth style: Thick underground rhizomes (like chunky storage roots) that hold water
- Light: Tolerates low light, grows best in bright indirect light
- Water: Infrequent, only after soil dries out
- Soil: Fast-draining mix in a pot with drainage holes
- Pet safety: Toxic if chewed or eaten
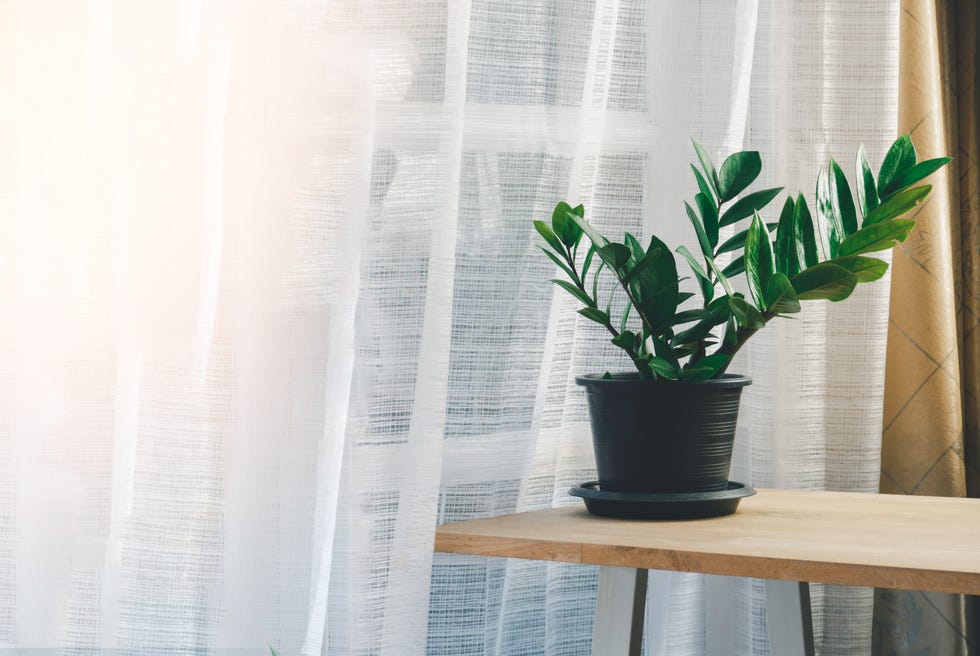
Light: low tolerance, best growth in bright indirect
ZZ plants are famous for surviving in low light offices and corners. They can handle it, but they will grow slowly and may stretch a bit toward the nearest light source.
Best light setup
- Ideal: Bright, indirect light from any direction. An east or north window is often easy. A bright south or west window is also great if you diffuse the light or keep the plant a few feet back from the glass.
- Okay: Medium light where you can comfortably read during the day without turning on lamps.
- Low light: The plant will survive, but expect slower growth and fewer new stems.
Can a ZZ plant take direct sun?
A little gentle morning sun can be fine, but harsh afternoon sun can scorch leaves, especially through a hot window. If you see pale patches or crispy tips, pull it back from the glass or diffuse the light with a curtain.
Watering: the top killer is too much love
If you remember one thing from this guide, make it this: ZZ plants want the soil to dry out between waterings. They store water in their rhizomes and thick stems, so they would rather be slightly dry than constantly damp.
If your plant sits inside a decorative cachepot (a pot with no drainage), take it out to water and let it drain fully before putting it back. Never let water pool at the bottom.
How often to water a ZZ plant
There is no perfect calendar schedule because light, pot size, pot material, and indoor temperatures change how fast soil dries. A realistic beginner range is:
- Bright indirect light: about every 2 to 4 weeks
- Medium to low light: about every 3 to 6 weeks
- Winter: often even less, sometimes 4 to 8 weeks
Note: terracotta pots and gritty, fast-draining mixes can shorten these intervals because they dry out faster.
The simple watering test that works
- Stick your finger 2 to 3 inches into the soil.
- If it is dry at that depth, you can water.
- If it is cool, dark, or damp, wait a week and check again.
If you want an even safer approach for beginners: wait until the pot feels noticeably light when you lift it, then water thoroughly.
How to water correctly
- Water slowly until it drains out the bottom.
- Let it finish draining. Do not leave it sitting in a saucer of water.
- Avoid frequent small waterings. They can create uneven moisture and keep parts of the mix constantly damp.
Signs of overwatering vs underwatering
- Overwatering: yellowing leaves, mushy stems near the base, soil that stays wet for many days, a sour smell, sudden collapse of a stalk.
- Underwatering: wrinkled stems, leaflets curling slightly, very slow growth. True underwatering is less common than people think.
When in doubt, wait. A ZZ plant can bounce back from dryness much more easily than it can recover from rot.
Soil and pot: drainage is everything
ZZ plants need a mix that dries reasonably fast and a container that lets extra water escape. Heavy, moisture-holding soil is what turns “low-maintenance” into “mysteriously dying.”
Best soil mix for ZZ plants
You have two good options:
- Easy option: A cactus and succulent mix straight from the bag.
- DIY option: 2 parts quality potting mix + 1 part perlite or pumice. If you tend to overwater, bump up the drainage material a bit more.
Avoid garden soil from outside. It compacts, drains poorly, and can bring pests indoors.
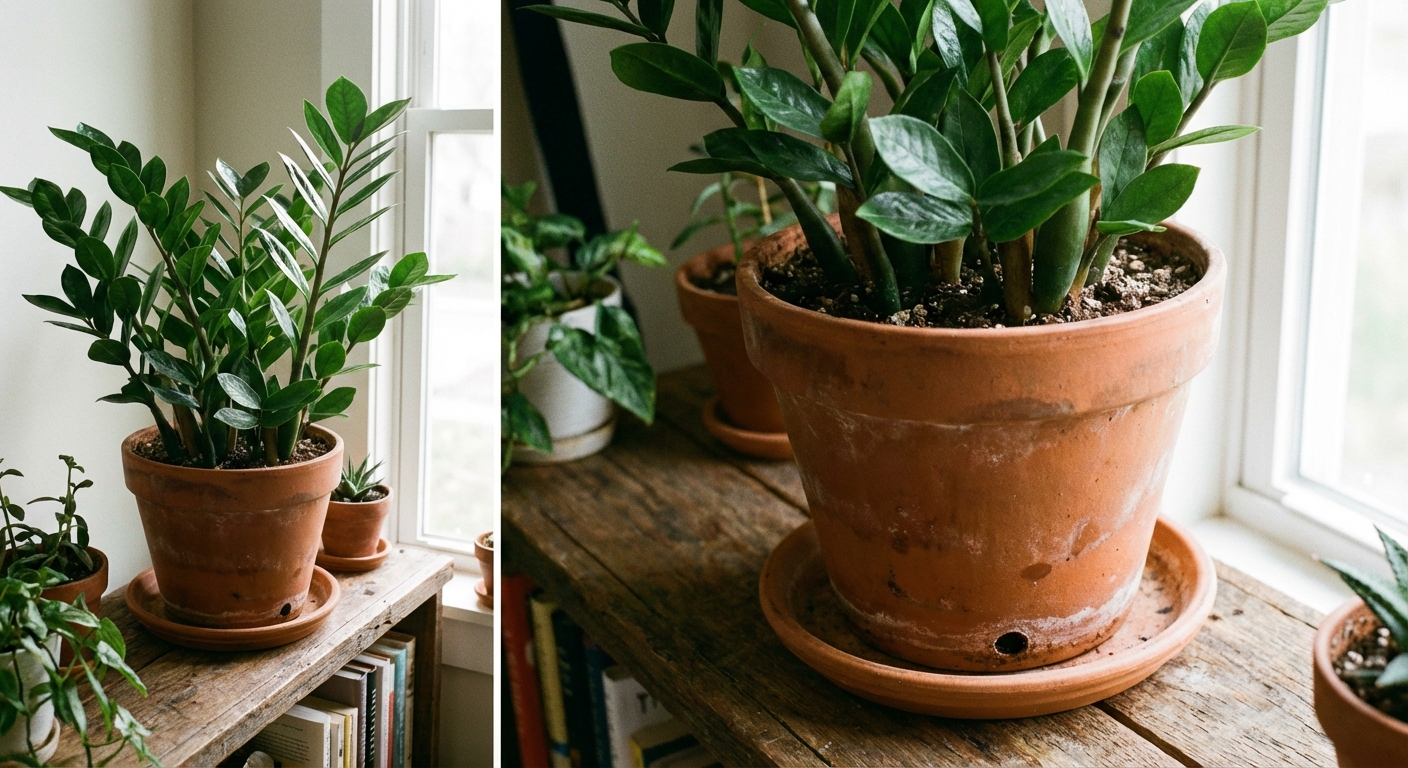
Choose the right pot
- Use drainage holes. Always.
- Terracotta helps if you overwater since it breathes and dries faster than plastic.
- Size matters: ZZ plants like to be slightly snug. A pot that is too large holds wet soil too long.
Temperature and humidity
ZZ plants do well in normal household conditions.
- Temperature: Aim for 65 to 80°F (18 to 27°C). Keep it away from cold drafts and freezing windows.
- Humidity: Average indoor humidity is fine. No special setup needed.
If your home is extremely dry, occasional leaf wiping helps more than misting. Misting does not meaningfully raise humidity and can spot leaves if your water is hard.
Fertilizer: optional, light-handed
ZZ plants are not heavy feeders. If you want faster growth, a little fertilizer helps, but overdoing it can cause brown tips and salt buildup.
- When: Spring through early fall
- How often: Every 6 to 8 weeks is plenty
- What: A balanced liquid houseplant fertilizer diluted to half strength
Skip feeding in winter when growth naturally slows.
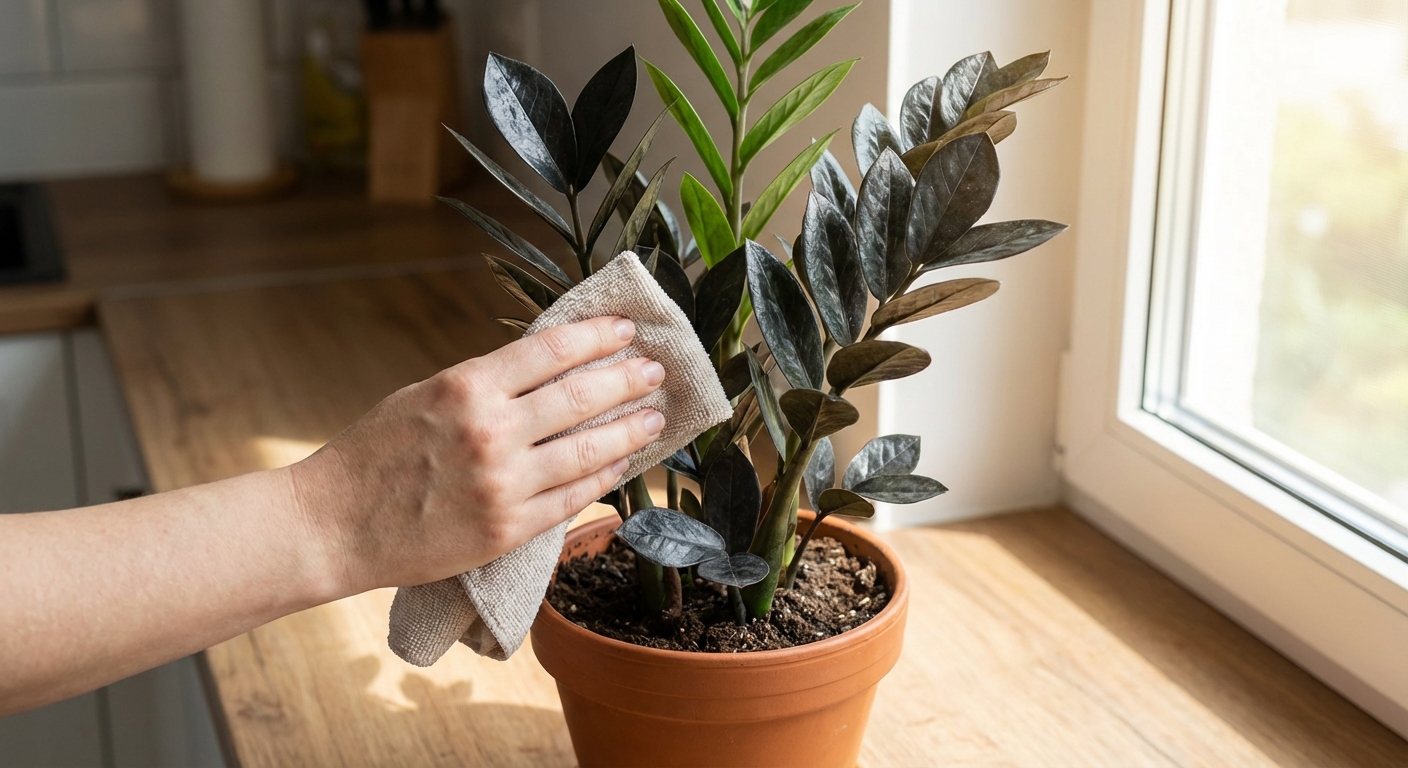
Cleaning and routine maintenance
Those shiny leaves are one reason people love ZZ plants, but they also show dust. Dust blocks light and slows photosynthesis.
- Wipe leaves with a damp cloth every few weeks.
- Rotate the pot a quarter turn monthly for even growth.
- Trim any yellow or damaged stalks at the base with clean scissors.
Repotting: slow grower, occasional upgrade
ZZ plants grow slowly and prefer being slightly root-bound, so repotting is not a yearly chore.
When to repot
- Roots pushing out of drainage holes
- The plant dries out much faster than it used to
- The rhizomes are pressing hard against the pot and the container looks misshapen
How to repot without drama
- Move up only 1 to 2 inches in pot diameter.
- Use fresh, fast-draining mix.
- After repotting, wait about a week to water if the mix is slightly moist. This reduces rot risk if any roots were disturbed.
Propagation: leaf cuttings and division
ZZ propagation is easy in theory, but it takes patience. New growth comes from forming a little rhizome first, and that can take time.
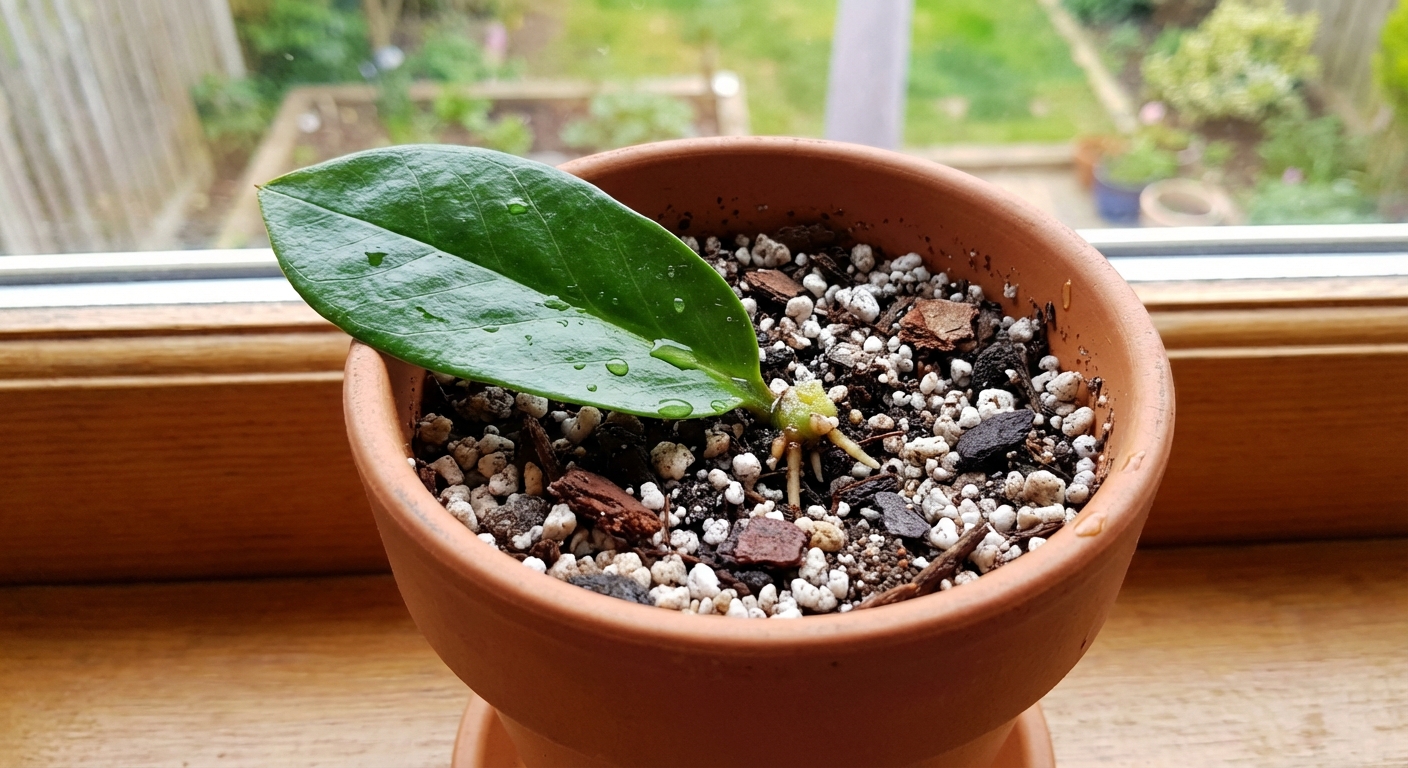
Propagate a ZZ plant from leaf cuttings
This is the beginner-friendly method if you are okay with a slow payoff.
- Choose a healthy leaf (one leaflet) or a small section of a stalk with a few leaflets.
- Let the cut end dry for a few hours so it calluses.
- Insert the cut end into a small pot of lightly moist, well-draining mix, or place it in water.
- Keep in bright indirect light and warm temperatures.
- Be patient. It may take 1 to 6+ months to root, and several more months to form a rhizome and send up new shoots, especially in cooler or lower-light homes.
If you use water, change it every week and pot it up once you have roots a couple inches long.
Propagate by division (fastest method)
Division is the quickest way to get a new ZZ plant because each piece already has rhizomes to power new growth.
- Gently slide the plant out of the pot and brush away loose soil so you can see the rhizomes.
- Find natural clumps. A good division has at least one firm rhizome and a few healthy stems (or visible growth points).
- Separate the clumps with your hands. If they are tightly connected, use a clean knife or pruners.
- Let any cut surfaces dry for a few hours.
- Pot each division into a small pot with drainage and fresh, fast-draining mix.
- Wait a few days before watering, then water thoroughly and let it dry out again.
Common problems (and what to do)
Yellow leaves
Most often caused by overwatering or soil staying wet too long. Let the soil dry fully and adjust your setup.
Also note: if it is just one or two older leaves yellowing slowly while the rest of the plant looks great, that can be normal aging.
Drooping or collapsing stems
Can be rot, or sometimes physical damage. Check the base. Healthy stems feel firm. Soft stems are a red flag.
No new growth
Normal, especially in low light or winter. ZZ plants often slow down seasonally. If you want more growth, move it to brighter indirect light and feed lightly during the growing season.
Brown tips
Often from fertilizer buildup, inconsistent watering, or very dry air. Flush the pot with clean water a couple of times a year and avoid heavy feeding.
Pests
ZZ plants are fairly pest-resistant, but you can still see spider mites or mealybugs. Wipe leaves, isolate the plant, and treat with insecticidal soap if needed.
How to rescue an overwatered ZZ plant
If you suspect rot, act quickly. The goal is to get the plant out of wet soil and remove anything that has turned soft.
- Unpot the plant and gently remove as much wet soil as you can.
- Inspect the rhizomes and roots. Healthy rhizomes are firm. Rotten ones feel soft or squishy and may smell sour.
- Trim off any mushy roots or rhizome sections with clean scissors or pruners.
- Let the plant air-dry for several hours (or overnight) so cuts can callus.
- Repot into fresh, dry, fast-draining mix in a pot with drainage holes.
- Hold off on watering for about a week, then water lightly and let it dry fully going forward.
Is a ZZ plant toxic to pets and kids?
Yes. ZZ plants contain calcium oxalate crystals. If a pet or child chews the leaves or stems, it can cause mouth irritation, drooling, and discomfort. Vomiting can happen, but it is not guaranteed.
- Keep ZZ plants out of reach of cats, dogs, and curious toddlers.
- Wash your hands after pruning or repotting. Some people get mild skin irritation from the sap.
- If ingestion happens, contact your vet or poison control for guidance.
Beginner checklist
- Put it in bright indirect light if you can, but do not stress if your home is dim.
- Use a pot with drainage holes and fast-draining soil.
- Water only when the soil is dry a few inches down, then drain the saucer.
- Expect slow, steady growth. That is normal for ZZ plants.
- Keep it away from pets that like to chew plants.
If you follow that list, your ZZ plant will usually do exactly what you want a houseplant to do: look good and ask for very little.