Monstera Plant Care Guide

Jose Brito
I’m Jose Britto, the writer behind The Country Store Farm Website. I share practical, down-to-earth gardening advice for home growers—whether you’re starting your first raised bed, troubleshooting pests, improving soil, or figuring out what to plant next. My focus is simple: clear tips you can actually use, realistic expectations, and methods that work in real backyards (not just in perfect conditions). If you like straightforward guidance and learning as you go, you’re in the right place.
Monstera deliciosa is popular for a reason. In good conditions it can grow quickly, it forgives a missed watering now and then, and those split leaves look like you know what you are doing even if you are still learning. The trick is giving it the few things it actually cares about: bright light, a chunky soil mix, and a routine that keeps roots healthy.
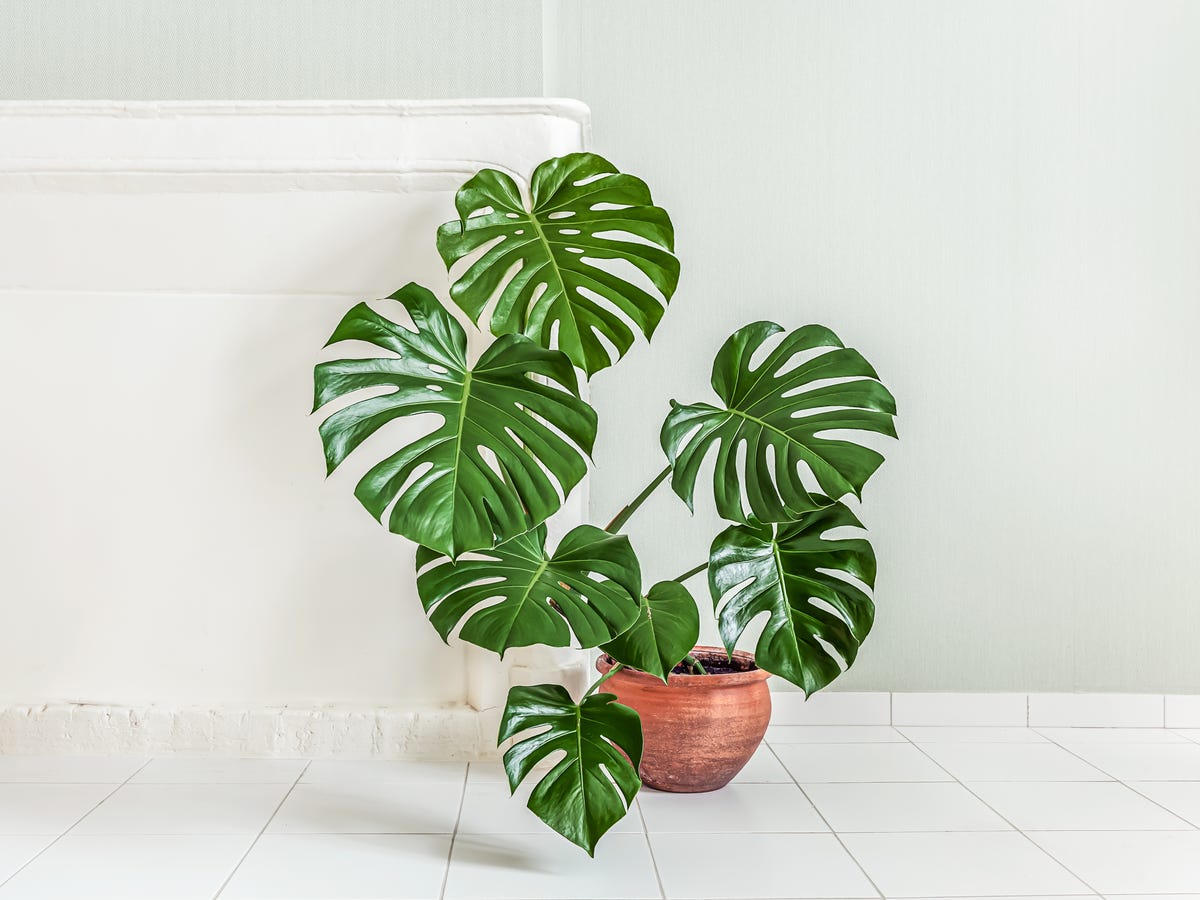
This guide covers the basics that matter most, the common problems people run into (yellow leaves, brown tips, drooping), and what you can do to encourage bigger leaves and better fenestration.
Quick care basics
- Light: Bright, indirect light is best. A little gentle morning sun is usually fine.
- Water: Water thoroughly, then let the top 2 to 3 inches of soil dry before watering again (adjust for pot size and light).
- Humidity: Average home humidity works, but 50% to 60% helps leaf quality.
- Soil: Chunky, airy mix that drains fast and still holds a little moisture.
- Support: Stake or moss pole for bigger leaves and more splits.
- Growth season: Spring and summer are when it really takes off.
Light (the main driver)
If there is one factor that controls how your Monstera looks, it is light. Monsteras that sit in low light usually survive, but they stretch, stay smaller, and make fewer leaf splits.
Best light for Monstera deliciosa
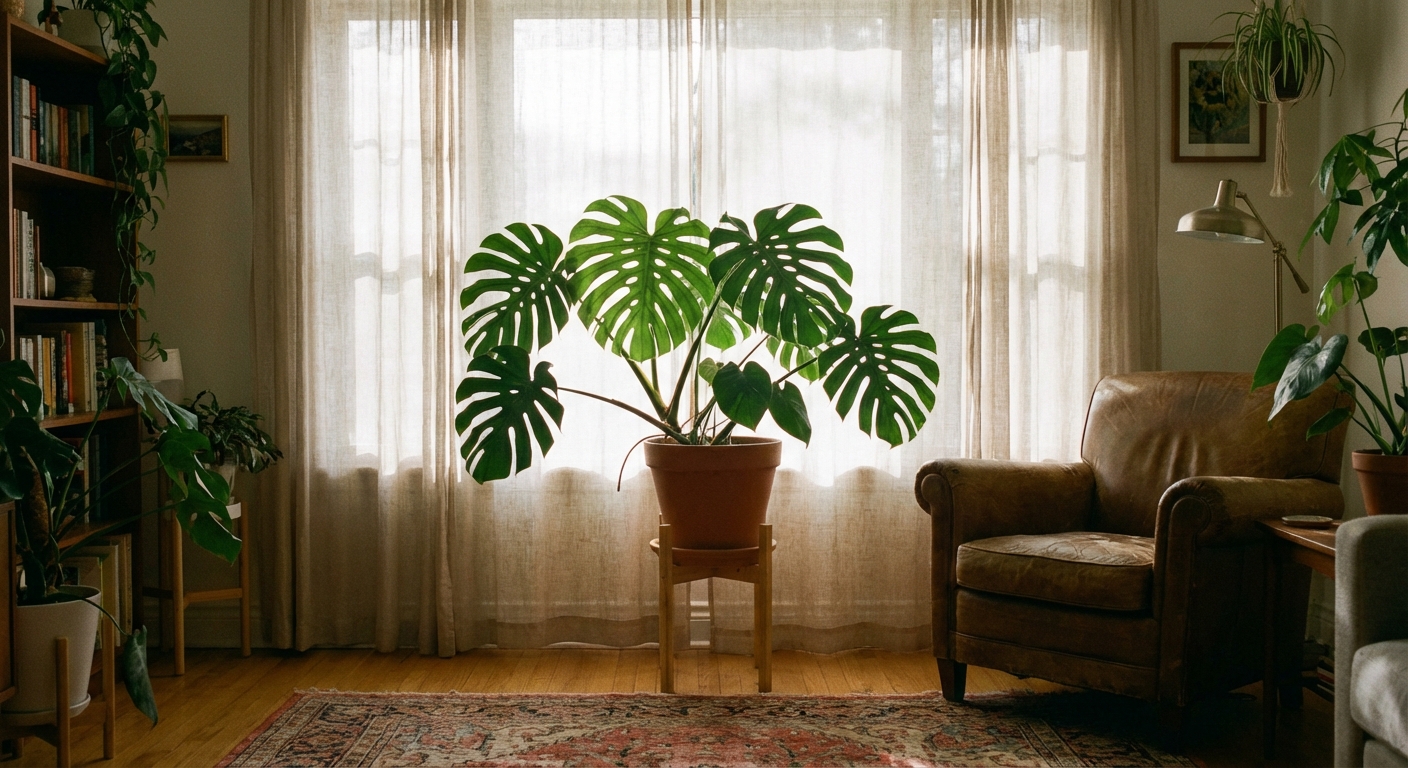
Aim for bright, indirect light for most of the day. Near an east window is often perfect. South or west windows can work too if you pull the plant back from harsh midday sun or filter it with a sheer curtain.
- Good signs: New leaves regularly, petioles (leaf stems) are sturdy, leaves face the light without extreme leaning.
- Too little light: Long gaps between leaves, smaller leaves, few or no fenestrations, slow growth.
- Too much direct sun: Bleached patches, crispy brown areas, especially on the sun-facing side.
Simple tip: If you can comfortably read a book in that spot during the day without turning on lights, your Monstera is probably getting enough light. For a more concrete cue, look for a soft shadow cast by the leaves (not a harsh, crisp one).
Watering (avoid rot and droop)
Most Monstera problems come back to watering. Not because Monsteras are fussy, but because they hate sitting in soggy soil. At the same time, letting them dry out for too long can lead to droop, brown edges, and slow growth.
How often to water
Instead of watering by the calendar, water based on soil dryness:
- Stick your finger into the pot. If the top 2 to 3 inches are dry, it is usually time.
- Adjust as needed: Smaller pots dry faster, large pots dry slower. Plants in brighter light and warmer rooms also dry faster.
- Water until it runs out the drainage holes, then empty the saucer.
- In winter, you will usually water less often because growth slows and soil dries slower.
Signs you are overwatering
- Yellow leaves starting low on the plant
- Soft, limp stems
- Soil that stays wet for many days
- Musty smell, fungus gnats, or black mushy roots (in severe cases)
Signs you are underwatering
- Leaves droop and feel thinner
- Edges turn crispy
- Pot feels very light, soil pulls away from the pot sides
Down-to-earth rule: If you are unsure, wait a day and check again. Slightly dry is safer than constantly wet.
If you suspect root rot
If the plant is drooping but the soil stays wet and heavy for days, treat it like a root health problem, not a thirst problem:
- Unpot the plant and inspect the roots.
- Trim any black, mushy, or foul-smelling roots with clean scissors.
- Repot into a fresh, chunky mix in a pot with drainage.
- After repotting, water once thoroughly to settle the mix and eliminate big air pockets, then do not water again until the top inches dry.
Humidity and temperature
Monstera deliciosa is a tropical plant, but it does not require a greenhouse. Most homes are fine. You just get nicer leaves when conditions are steadier.
Humidity target
- Okay: 30% to 40% (common indoors)
- Better: 50% to 60% for smoother leaf expansion and fewer crispy tips
If your air is very dry, a small humidifier nearby helps more than misting. Misting evaporates quickly and, in low airflow or with hard water, can contribute to spotting or residue on leaves.
Temperature
Keep Monsteras in the comfortable human range: 65°F to 85°F is ideal. Avoid cold drafts, heat vents blasting the plant, and extended time below about 55°F.
Soil (chunky is better)
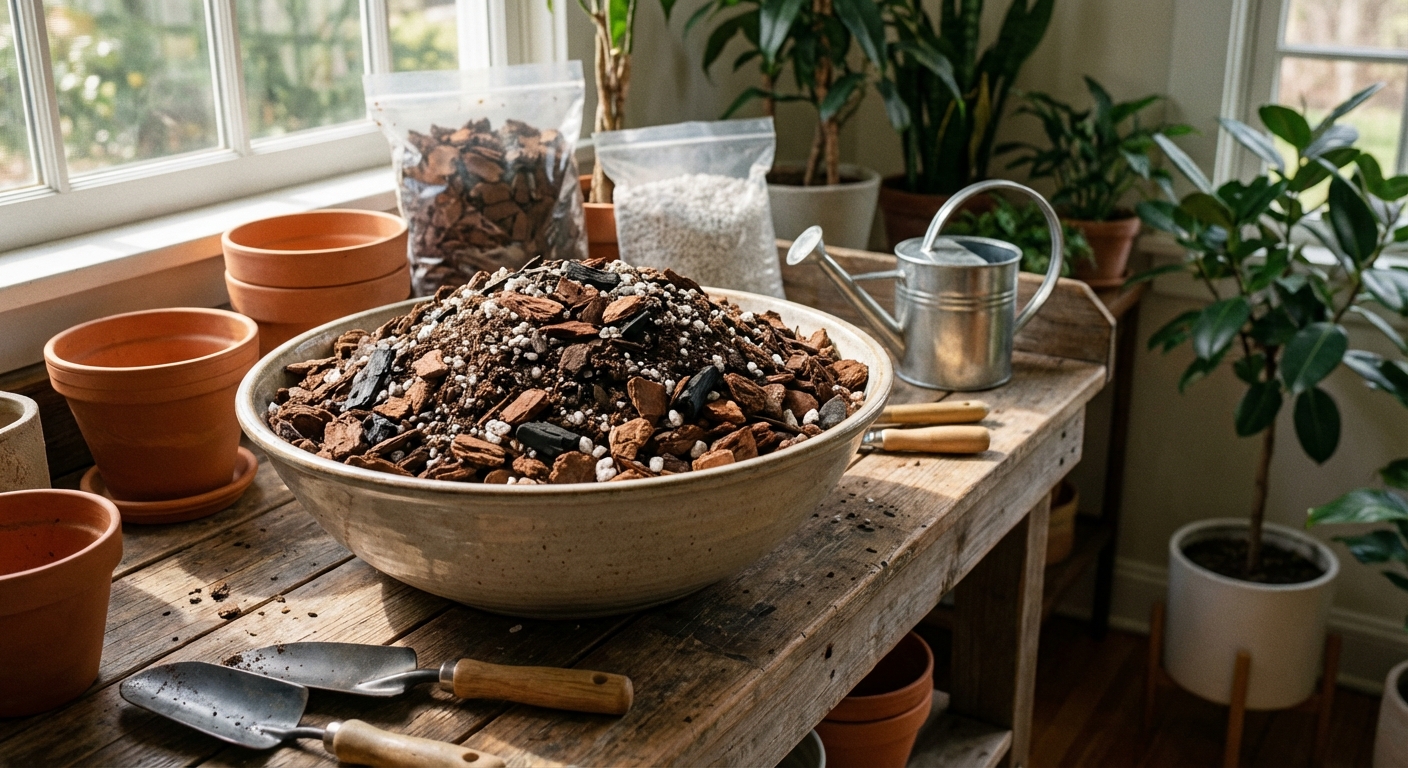
Monsteras want oxygen around their roots. Dense, peat-heavy potting soil can stay wet too long, especially in low light. A chunky mix helps you water thoroughly without suffocating roots.
Easy Monstera soil mix
You can mix this in a bucket:
- 2 parts indoor potting mix
- 1 part orchid bark (or fine pine bark)
- 1 part perlite or pumice
Optional add-ins: a handful of worm castings for gentle nutrition, or a small amount of horticultural charcoal for freshness. The goal is a mix that drains fast but does not turn bone-dry in a day.
Pot choice
- Use a pot with drainage holes.
- Terracotta dries faster. Plastic holds moisture longer. Either can work if you adjust watering.
- Do not oversize the pot. Going up 1 to 2 inches wider than the current pot is usually plenty when repotting.
Fertilizing (steady, not heavy)
Monsteras are not heavy feeders, but they do appreciate steady nutrition during active growth.
- Spring through early fall: Fertilize about once a month with a balanced houseplant fertilizer at half strength, or follow label directions for regular feeding.
- Late fall and winter: Pause or cut back significantly if growth slows.
If your Monstera is putting out smaller and smaller leaves even in good light, a lack of nutrients can be part of it. Just remember: low light plus fertilizer does not equal faster growth. It can equal weak growth.
Fenestration (split leaves)
Fenestration is the leaf splitting that Monsteras are famous for. It is not a trick. It is mostly the plant responding to good conditions and maturity.
What actually helps
- Bright light: This is the biggest factor.
- Support: A stake or moss pole encourages climbing growth, which often leads to larger, more fenestrated leaves.
- Consistency: Even watering and steady conditions help new leaves unfurl cleanly.
- Time: Juvenile plants simply make solid leaves at first.
What does not help much
- Cutting random leaves off to “force” splits
- Overfertilizing
- Keeping it pot-bound on purpose
Expectation check: Leaf size and splitting are set during development, so changes you make now often show up on a future leaf, not always the very next one.
Support and aerial roots
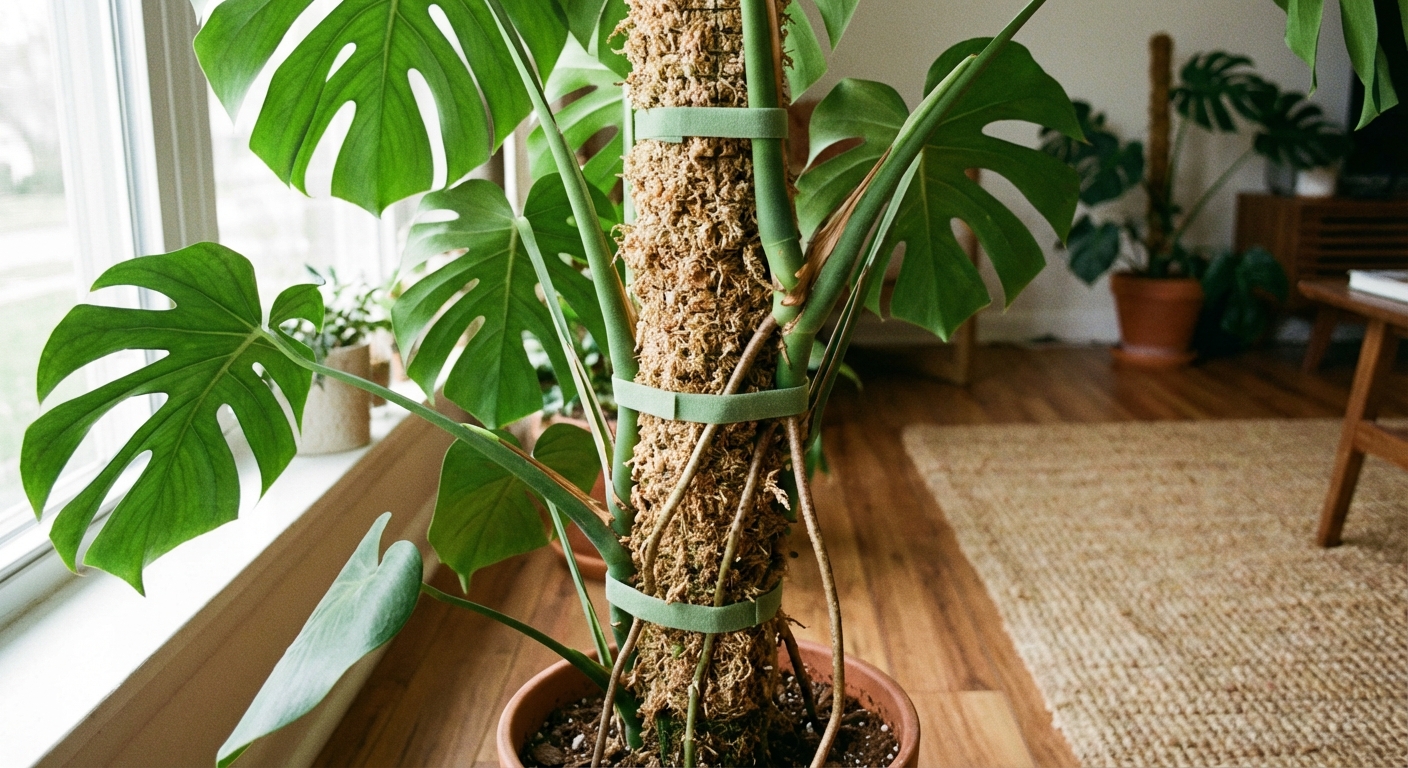
In nature, Monstera deliciosa climbs trees. Indoors, support is how you get that “grown-up” look: taller plant, larger leaves, and often better fenestrations.
How to stake a Monstera
- Place a sturdy stake or moss pole near the main stem, ideally when repotting so you do not damage roots.
- Tie the stem loosely with soft plant ties or Velcro plant tape.
- Adjust ties as it grows. Do not cinch tight. You want support, not a tourniquet.
What to do with aerial roots
Aerial roots are normal. They can look messy, but they are useful.
- Best option: Guide them into the moss pole or toward the soil surface so they can anchor and take up moisture.
- Also fine: Let them be. They do not hurt the plant.
- Trimming: You can trim a very long aerial root if it is in the way, but do not go hacking them all off routinely. Use clean pruners.
If you use a moss pole, keeping the pole slightly moist can encourage aerial roots to grab on, but do not keep everything soaking wet. You are still trying to avoid constantly wet conditions around the base.
Common problems and fixes
Yellowing leaves
One yellow leaf here and there can be normal aging, especially an older lower leaf. Widespread yellowing usually points to care issues.
- Most common cause: Overwatering or soil staying wet too long. Let soil dry more between waterings and consider a chunkier mix.
- Also possible: Low light, lack of nutrients during growth season, or a pot with poor drainage.
Brown leaf tips or edges
- Underwatering: Water deeply when needed, do not just splash the surface.
- Dry air: Improve humidity if your home is very dry.
- Salt buildup: If you fertilize regularly, flush the pot with plain water every month or two, or use filtered water if your tap is very hard.
Brown spots
- Sunburn: Crispy tan to brown patches on the side facing the window. Move back from direct sun.
- Overwatering related: Darker spots plus yellowing can show up with root stress. Check soil moisture and drainage.
Drooping leaves
Droop can mean thirsty or stressed roots from staying wet too long. Check the soil:
- If the top few inches are dry and the pot feels light, water thoroughly.
- If the soil is wet and heavy, pause watering and improve airflow and light. If it stays wet for many days, consider repotting into a chunkier mix and checking roots.
Leaves not splitting
- Increase light
- Add support for climbing
- Be patient with younger plants
Pests (spider mites, thrips, mealybugs)
Check the undersides of leaves and along stems, especially if growth looks weak or leaves have stippling.
- Rinse the plant in the shower or with a gentle spray.
- Wipe leaves with a damp cloth.
- Treat with insecticidal soap or horticultural oil, repeating every 7 to 10 days a few times to catch new hatchlings.
Quarantine new plants for a couple weeks if you can. Most infestations start with one new purchase.
Repotting and pruning
When to repot
Repot when roots are circling the pot heavily, growing out drainage holes, or the plant dries out extremely fast. For many homes, that is every 1 to 2 years.
- Go up one pot size.
- Refresh soil with a chunky mix.
- After repotting, water once thoroughly to settle the mix, then resume normal watering once the top inches dry again.
Pruning tips
Pruning is mostly for shaping or removing damaged leaves.
- Use clean, sharp pruners.
- Cut close to the main stem without tearing.
- Do not remove too many healthy leaves at once, since leaves power growth.
Propagation (simple and reliable)
Monstera is easy to propagate if you cut below a node. A node is the bump on the stem where a leaf and aerial root can form. No node, no new plant.
Basic steps
- Choose a healthy section with at least one node (and ideally an aerial root).
- Cut with clean shears.
- Root in water or in a chunky, lightly moist medium.
- Pot up once roots are a few inches long and branching.
Keep new cuttings in bright indirect light and do not overwater. Rot is the main risk early on.
Small habits that help
- Rotate the pot every week or two so it grows more evenly toward the light.
- Wipe dusty leaves with a damp cloth so the plant can photosynthesize efficiently and look its best.
Safety note
Monstera deliciosa is toxic if chewed or ingested (it contains calcium oxalate crystals). Keep it away from pets and small kids who like to sample houseplants.
Care checklist
- Bright, indirect light most of the day
- Water when top 2 to 3 inches are dry (adjust for pot size and conditions)
- Chunky, well-draining soil mix
- Support with a stake or moss pole for bigger leaves
- Fertilize lightly during spring and summer
- Check occasionally for pests and wipe leaves clean
If you focus on light plus a breathable soil mix, you will solve most Monstera problems before they start. Then it is just a matter of time before those leaves start coming in larger, thicker, and more split.