How to Start Composting at Home

Jose Brito
I’m Jose Britto, the writer behind The Country Store Farm Website. I share practical, down-to-earth gardening advice for home growers—whether you’re starting your first raised bed, troubleshooting pests, improving soil, or figuring out what to plant next. My focus is simple: clear tips you can actually use, realistic expectations, and methods that work in real backyards (not just in perfect conditions). If you like straightforward guidance and learning as you go, you’re in the right place.
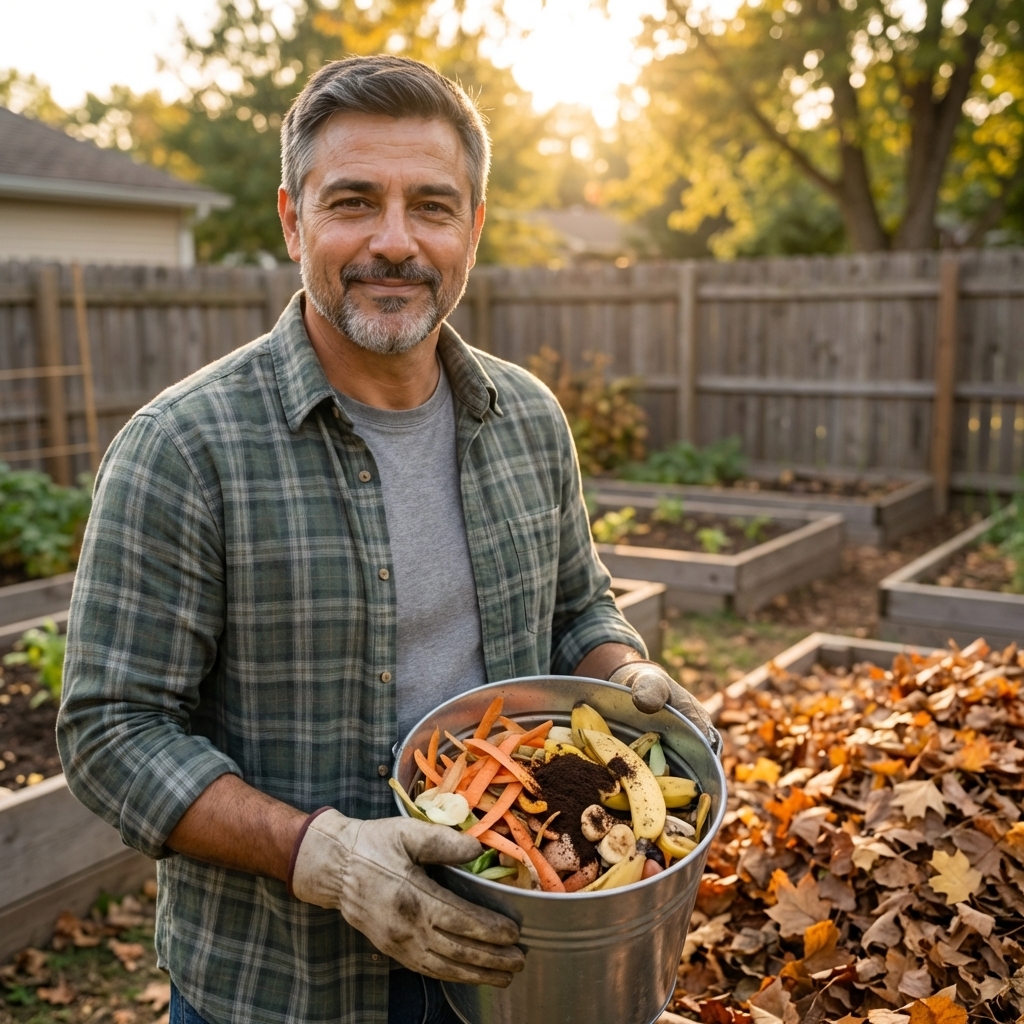
Composting is just controlled decomposition, and that is good news. You don’t need fancy equipment, perfect ratios, or a huge yard. You need a spot to put organic scraps, a basic mix of “greens” and “browns,” and a little patience.
Once you get a compost system going, you’ll cut down on trash and make a soil booster that helps vegetables and flowers grow better with fewer inputs. Composting can also reduce weeds and disease pressure when you skip diseased plants and keep weed seeds out, or when your pile gets hot enough to break them down.

Pick a compost method that fits your yard
The best compost bin is the one you’ll actually use. Here are three beginner-friendly options and when each one makes sense.
Compost tumbler
A tumbler is a sealed drum you rotate to mix the pile. It’s tidy and often faster in warm weather, and it helps if you’ve got limited space or you want fewer critters.
- Best for: small yards, patios, people who want low mess
- Pros: easy turning, cleaner look, often faster in warm weather
- Cons: limited capacity, can dry out, scraps sometimes clump and need breaking up
Open pile or simple bin
This is the classic compost heap on the ground, sometimes contained with wire, pallets, or a three-sided bin. It’s the cheapest, easiest way to compost a lot.
- Best for: medium to large yards, lots of leaves and grass clippings
- Pros: handles big volume, easiest to add bulky material, low cost
- Cons: needs turning for speed, can attract animals if you add the wrong foods
Worm bin (vermicomposting)
Worm bins use composting worms to turn kitchen scraps into worm castings. This is a great choice if you don’t have outdoor space or you want compost year-round.
- Best for: apartments, garages, basements, winter composting
- Pros: minimal smell when managed well, makes very rich castings
- Cons: not for yard waste, needs basic temperature and moisture control
Quick pick: If you’ve got leaves and a corner of the yard, start with an open pile. If you’ve got a small space and want tidy, pick a tumbler. If you’re indoors, do worms.
What compost needs to work
Compost breaks down because microbes are eating your scraps. To keep them working, you need four basics: greens, browns, water, and air.
- Greens: nitrogen-rich materials that help fuel microbial activity and heat.
- Browns: carbon-rich materials that balance moisture, improve airflow, and help prevent stink.
- Moisture: think “wrung-out sponge,” not soupy.
- Air: microbes need oxygen, and airflow keeps odors down.
Greens vs. browns (simple rule that works)
You’ll see complicated ratios online. Here’s the backyard version: aim for roughly 2 to 3 parts browns for every 1 part greens by volume. Then adjust based on what you see. If your pile smells or looks wet, add more browns. If it’s just sitting there, add greens, moisture, and a little mixing.
Common green materials
- Fruit and vegetable scraps
- Coffee grounds and paper coffee filters
- Fresh grass clippings (thin layers)
- Fresh weeds without seeds
- Manure from plant-eaters (rabbit, horse, cow) and poultry manure, if you know the source
Manure note: Use extra caution with manure. It can carry pathogens, and some can be contaminated by persistent herbicides from treated hay or pasture. If you’re unsure of the source, skip it. If you do use it, compost it thoroughly and avoid using “fresh” manure compost around seedlings.
Common brown materials
- Dry leaves (shredded if possible)
- Shredded cardboard and plain paper (no glossy coatings)
- Straw (not hay full of seeds)
- Wood chips or sawdust in small amounts
- Dried garden trimmings
Best beginner move: keep a bag of dry leaves or a small tote of shredded cardboard near your compost. Every time you add kitchen scraps, cover them with browns.
How to start your first compost pile (step by step)
1) Choose a spot
Pick a level spot with decent drainage. Partial shade is fine. Full sun can speed things up but may dry the pile out faster.
2) Start with a brown base
Lay down 4 to 6 inches of dry leaves, straw, or shredded cardboard. This helps airflow at the bottom and prevents a soggy, smelly start.
3) Add greens, then cover with browns
Add a layer of kitchen scraps or grass clippings, then cover with a thicker layer of browns. Keep building like that. You don’t need perfect layers, but you do want scraps buried or covered.
4) Add water if it’s dry
If your materials are crunchy dry, lightly water as you build. The goal is damp, not dripping. If it’s already wet from rain or fresh grass, skip watering.
5) Turn or mix when you can
For a pile or bin, turn it every 1 to 2 weeks if you want faster compost. If you don’t turn it, it’ll still compost, just slower. For a tumbler, spin it a few times a week.
Tools that help: a pitchfork is the classic choice for turning. A garden fork works too. If you want less lifting, a compost aerator tool (a corkscrew-style mixer) can pull air into the pile fast.
6) Keep adding, but keep it balanced
Most “compost fails” are simply too many greens without enough browns. If you’re adding lots of food scraps, be extra generous with leaves or cardboard.
What not to compost (and why)
Some items slow the process, attract pests, or introduce disease. For most home compost systems, skip these.
- Meat, fish, bones: strong odors and pests.
- Dairy and greasy foods: odors, pests, and they coat materials, slowing breakdown.
- Oils and fats: same problem as greasy food.
- Pet waste (dog, cat): potential pathogens, not worth the risk in a home system.
- Coal ash and briquette charcoal ash: can contain contaminants and additives. Wood ash is different but use sparingly.
- Diseased plants: home piles often don’t get hot enough to kill pathogens reliably.
- Weeds with mature seed heads: unless your pile gets consistently hot, those seeds may survive.
- Invasive weeds with aggressive roots: some can resprout.
- Treated wood scraps and sawdust: chemicals you don’t want in garden compost.
Note: Citrus peels and onions are fine in normal compost in reasonable amounts. In worm bins, keep them limited because they can irritate worms or shift pH if you overdo it.
Keeping pests away without making compost complicated
- Bury or cover food scraps with 2 to 4 inches of browns every time.
- Avoid meat and dairy in outdoor compost.
- Use a closed bin if rodents are a known issue in your area.
- Chop scraps smaller so they break down faster and don’t sit exposed.
- Don’t add large amounts at once unless you can cover well and balance with browns.

Troubleshooting: smells, flies, and slow compost
If your compost smells rotten or like ammonia
This usually means too many greens, too much moisture, or not enough air.
- Add a thick layer of browns (dry leaves, shredded cardboard).
- Turn the pile to bring in oxygen.
- If it’s soggy, mix in dry browns and leave the lid off temporarily during dry weather.
If you have lots of fruit flies
- Stop leaving scraps exposed. Always cover with browns.
- Bury scraps in the center of the pile, not on the edges.
- Freeze kitchen scraps and add them in a covered batch (optional, but effective).
If decomposition is very slow
Slow compost is typically a carbon-heavy, dry, or cold pile.
- Add more greens (fresh grass clippings, coffee grounds, fresh plant trimmings).
- Moisten the pile if it’s dry.
- Chop or shred materials smaller, especially leaves and cardboard.
- Turn it to mix greens and browns together.
If the pile is wet and slimy
- Mix in browns and fluff it up.
- Avoid thick layers of grass clippings. Add them in thin layers mixed with browns.
- Improve drainage under the pile if water collects.
If nothing heats up
Not every pile needs to get hot, but heat helps finish compost faster and can kill many weed seeds. To encourage heat:
- Build a bigger pile if possible. About 3 feet by 3 feet is a good minimum size for heat.
- Make sure there are enough greens.
- Keep it damp and turn it weekly for a few weeks.
How long compost takes
Timing depends on your materials, weather, and how often you mix.
- Hot, turned pile: often 1 to 3 months
- Tumbler in warm weather: often 1 to 3 months (sometimes longer if it dries out)
- Passive pile (rarely turned): 6 to 12 months
Cold temperatures slow everything down, so it’s normal for composting to pause in winter and pick back up in spring.
How to know when compost is finished
Finished compost looks like dark, crumbly soil and smells earthy, not sour. You shouldn’t recognize most of the original materials, except maybe a few small wood bits or eggshell pieces.
- Texture: crumbly, not slimy
- Smell: like forest soil
- Temperature: close to outdoor temperature
If you’re unsure, let it cure for a few more weeks. Fresh, half-finished compost can tie up nitrogen in the soil temporarily, which can slow plant growth, especially for young plants.
How to use finished compost in your garden
Compost is a soil builder, not a magic fertilizer. It helps with structure, water-holding, and steady nutrient release. Here are easy ways to use it without overthinking.
In garden beds
- Top-dress: spread 1 to 2 inches on the surface and let worms and water work it in.
- When planting: mix a few handfuls into the planting hole, especially for heavy feeders like tomatoes and squash.
- New beds: mix 2 to 4 inches into the top 6 to 8 inches of soil if you’re starting from poor soil.
In containers
Use compost as part of a potting mix, not the whole mix. A good starting point is 20 to 30 percent compost blended into a quality potting soil. Too much compost in a pot can hold excess water and compact over time.
As mulch (thin topdressing)
Compost works well as a thin, nutrient-rich top layer around vegetables, herbs, and flowers, but it won’t suppress weeds like wood chips or leaf mulch unless you apply it thick (and thick compost can be a bit much for some plants). Keep it 1 to 2 inches away from plant stems to prevent rot.

Simple composting routines that stick
Kitchen routine
- Keep a small container for scraps with a lid.
- Empty it every 1 to 3 days.
- Each time you dump scraps, toss on a layer of browns.
Yard routine
- In fall, stockpile leaves. They are your compost “stink insurance.”
- In spring and summer, mix grass clippings with leaves or cardboard instead of dumping a thick green mat.
- Turn the pile when you notice it slowing down or getting smelly.
When it’s ready, then what?
- Screen it (optional): run it through a simple screen if you want a finer texture for topdressing or potting mixes.
- Store it smart: keep finished compost lightly covered so it doesn’t get waterlogged or baked dry.
- Basic hygiene: wear gloves if you want, and wash your hands after handling compost.
Composting doesn’t have to be perfect. Start small, keep browns nearby, and adjust as you go. In a few months, you’ll have a steady supply of compost that makes every garden task a little easier.