How to Propagate Succulents at Home

Jose Brito
I’m Jose Britto, the writer behind The Country Store Farm Website. I share practical, down-to-earth gardening advice for home growers—whether you’re starting your first raised bed, troubleshooting pests, improving soil, or figuring out what to plant next. My focus is simple: clear tips you can actually use, realistic expectations, and methods that work in real backyards (not just in perfect conditions). If you like straightforward guidance and learning as you go, you’re in the right place.
Succulent propagation sounds fancy, but it's really just plant recycling. You take a healthy piece of the plant, give it the right conditions, and let it do what succulents already want to do: make more succulents.
This guide covers the three easiest at-home methods: leaf cuttings, stem cuttings, and offsets (also called pups). I'll walk you through the drying and callousing step, the best propagation mix, how to water while rooting, what kind of light to use, and the mistakes that cause most failures.
Before you start: what you need
You don't need much, but a few basics make a big difference.
- A healthy parent plant with firm leaves and no signs of rot or pests
- Clean snips or a sharp knife (for stems and offsets)
- Isopropyl alcohol to wipe tools (and your hands if you're moving between plants)
- Small pots or a shallow tray with drainage holes
- Gritty propagation mix (recipe below)
- Bright light (a sunny window or a grow light)
- Patience, most succulents root slowly compared to houseplants
Best time to propagate: Spring through early fall is easiest because plants are actively growing. You can still do it in winter indoors, but rooting often slows down.
Quick pest note: If the parent plant has pests (mealybugs, scale), don't propagate from it until it's treated. Pests move fast, and tiny props are harder to clean up. If you're not sure, quarantine new cuttings away from your main collection for a couple of weeks.
The callousing step (don't skip this)
When you remove a leaf or cut a stem, you create an open wound. If that fresh cut sits in wet mix, it can rot before it ever roots. Callousing is simply letting the wound dry and seal over.
How long to let cuttings dry
- Leaf cuttings: usually 1 to 3 days
- Thin stems: often 2 to 5 days
- Thick stems: often 5 to 10 days
- Offsets: 1 to 3 days if they have a natural break point, longer if you made a cut
Those timelines are just guidelines. Temperature, humidity, and the plant type matter a lot. The real rule is simple: wait until the cut end looks dry and sealed.
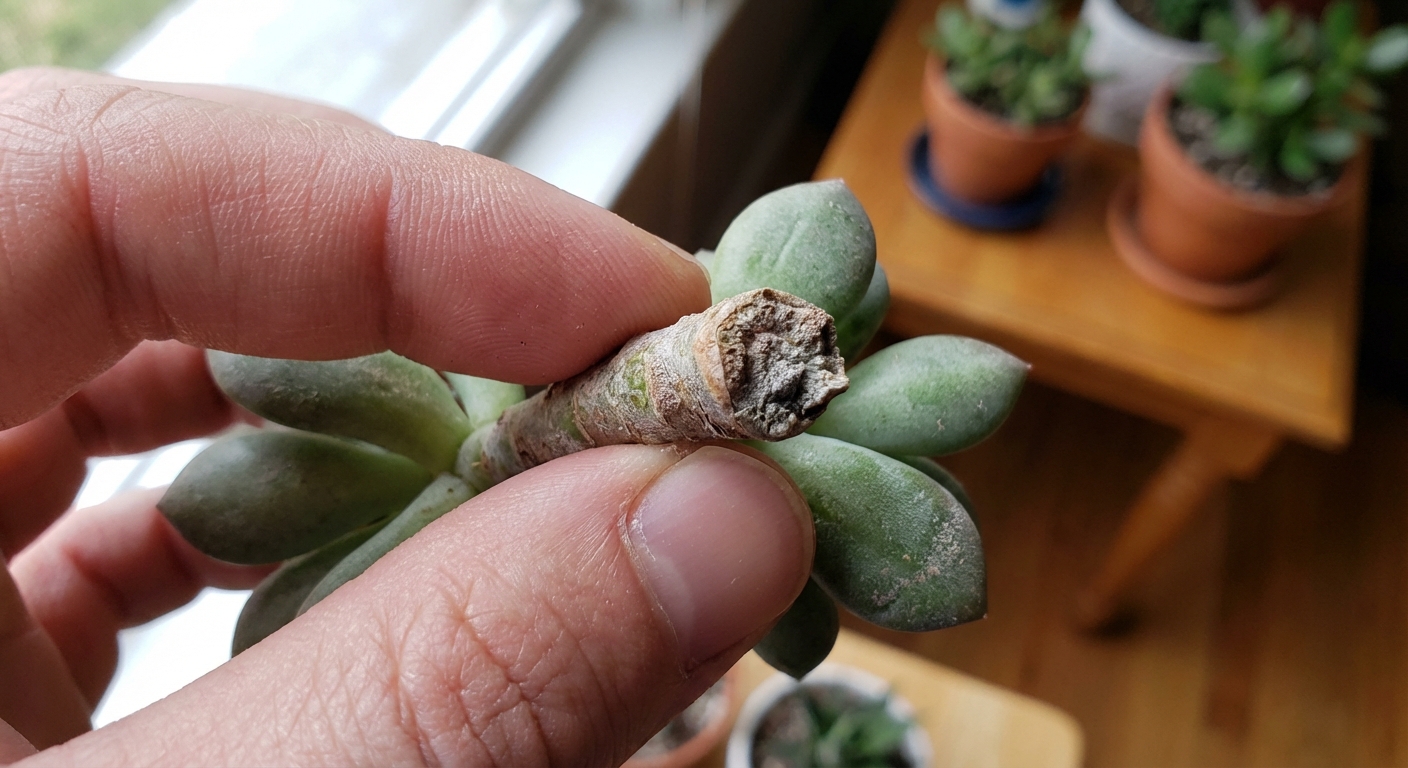
What calloused looks like: the cut end looks dry, slightly dull, and sealed. It shouldn't look wet, shiny, or mushy.
Propagation mix
Rooting succulents is easier in a mix that drains fast and dries evenly. Regular potting soil holds too much moisture for fresh cuttings.
Easy mix recipe
- 1 part cactus or potting mix
- 1 part pumice or perlite
- Optional: a handful of coarse sand or fine gravel for extra drainage
If you only have cactus mix, you can use it, but I still recommend adding extra pumice or perlite. For propagation, slightly too dry is safer than slightly too wet.
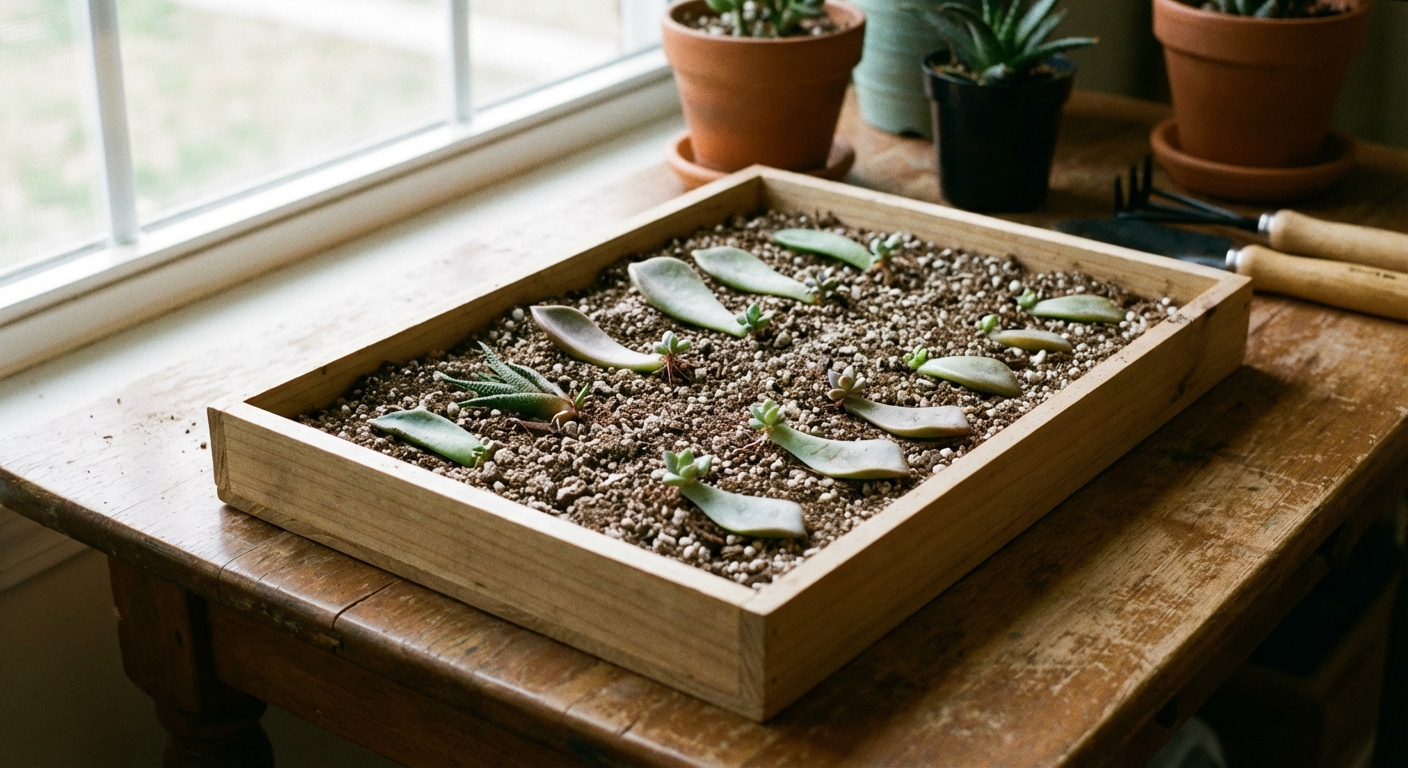
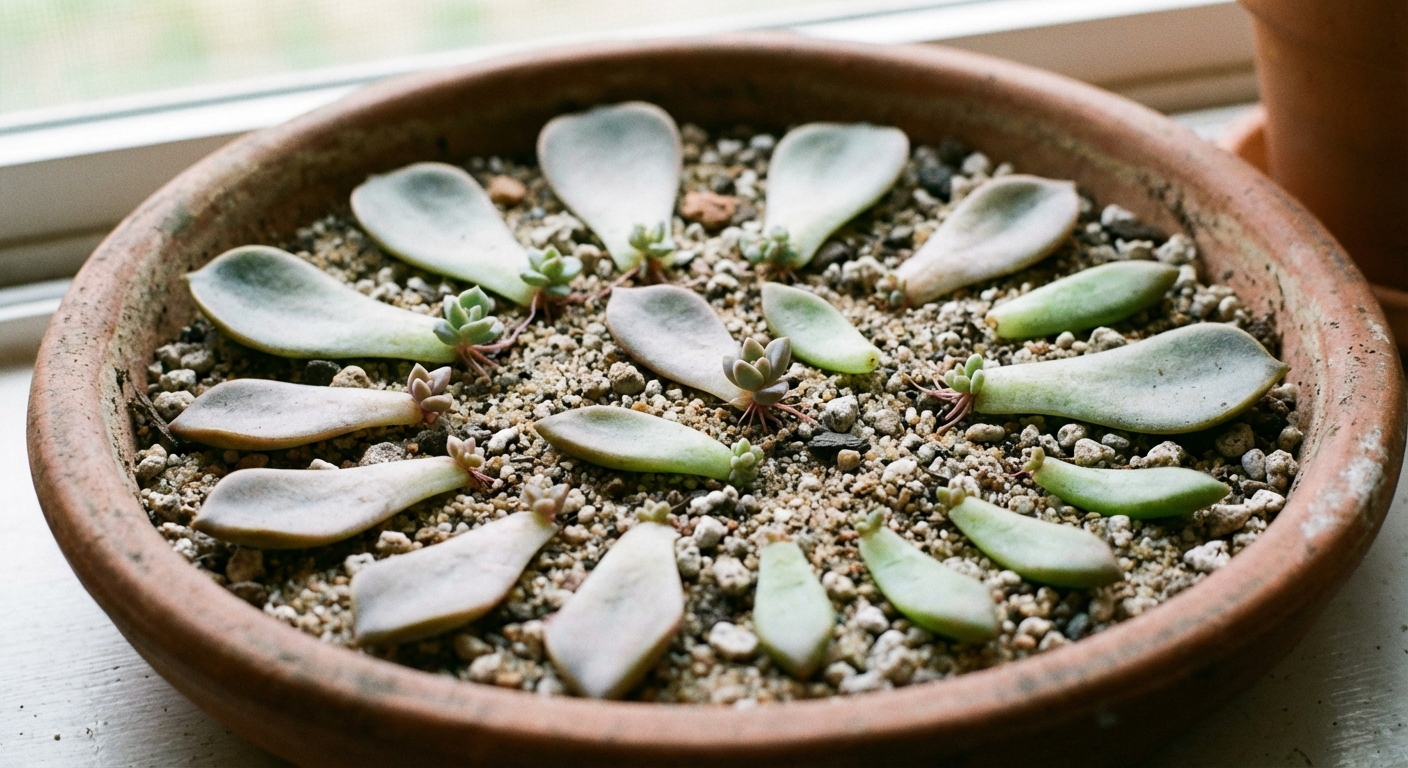
Container tip: shallow trays work well for leaf propagation because you can set many leaves on the surface without burying them.
Method 1: Leaf cuttings
Leaf propagation works best for many rosette succulents (echeveria, graptoveria) and also for lots of sedums and crassulas. It doesn't work for every succulent, and that's not your fault.
Succulents that usually won't leaf-prop
- Many aloes and haworthias (offsets are easier)
- Many euphorbias (often better from stem cuttings, plus handle sap carefully)
- Some variegated cultivars can be slower, less reliable, or revert to green
Step-by-step
- Choose a healthy leaf. Pick a mature, firm leaf from the lower half of the plant.
- Remove it cleanly. Wiggle gently side to side and pull so the leaf comes off with a complete base. If the base tissue isn't intact, it often won't work (though an imperfect pull can still surprise you sometimes).
- Let it callous. Set the leaf in a dry spot out of harsh sun for 1 to 3 days, or until the end is dry and sealed.
- Lay it on top of dry mix. Don't bury the whole leaf. Just set it flat with the cut end touching or very close to the surface.
- Give bright, indirect light. A few feet from a sunny window or under a grow light is ideal.
- Go easy on water. Let the leaf do its thing before you introduce much moisture.
Watering leaf cuttings
This is where people get tripped up. Leaf cuttings already have stored water. If you keep the mix wet, you can rot the leaf before roots form.
Two approaches can both work, depending on your climate:
- Humid or average homes: keep the mix dry at first. Once you see roots and a tiny plant starting, you can lightly dampen a small area near the roots, then let it dry completely again.
- Very dry homes: if roots appear and look like they're drying up, you can use a squeeze bottle to add a little water near (not on) the roots. Still avoid constant misting.
Simple decision rule: If you don't see roots yet, don't water. If you see roots, only add a small amount of water when those roots look dry and the mix is fully dry. If you see a baby plant with a few leaves, you can water a bit more normally, but still let the mix dry between waterings.
What to watch for: You'll often see roots first, then a tiny rosette. The original leaf will slowly shrivel as it feeds the new plant. That's a good sign.
Timing: Leaf props can take a few weeks to a few months. Slow doesn't mean failed.
Method 2: Stem cuttings
Stem propagation is faster and more reliable than leaf propagation for many succulents. It's great for leggy plants, plants that got stretched in low light, or anything with a clear stem like jade, many kalanchoes, and many sedums.
Step-by-step
- Pick a healthy stem. Aim for a piece 3 to 6 inches long with several leaves.
- Make a clean cut. Use clean snips and cut just below a node (where leaves attach).
- Strip lower leaves. Remove leaves from the bottom 1 to 2 inches so you've got bare stem to plant.
- Let it callous. Usually a few days, longer for thick stems. Wait until the cut end is dry and sealed.
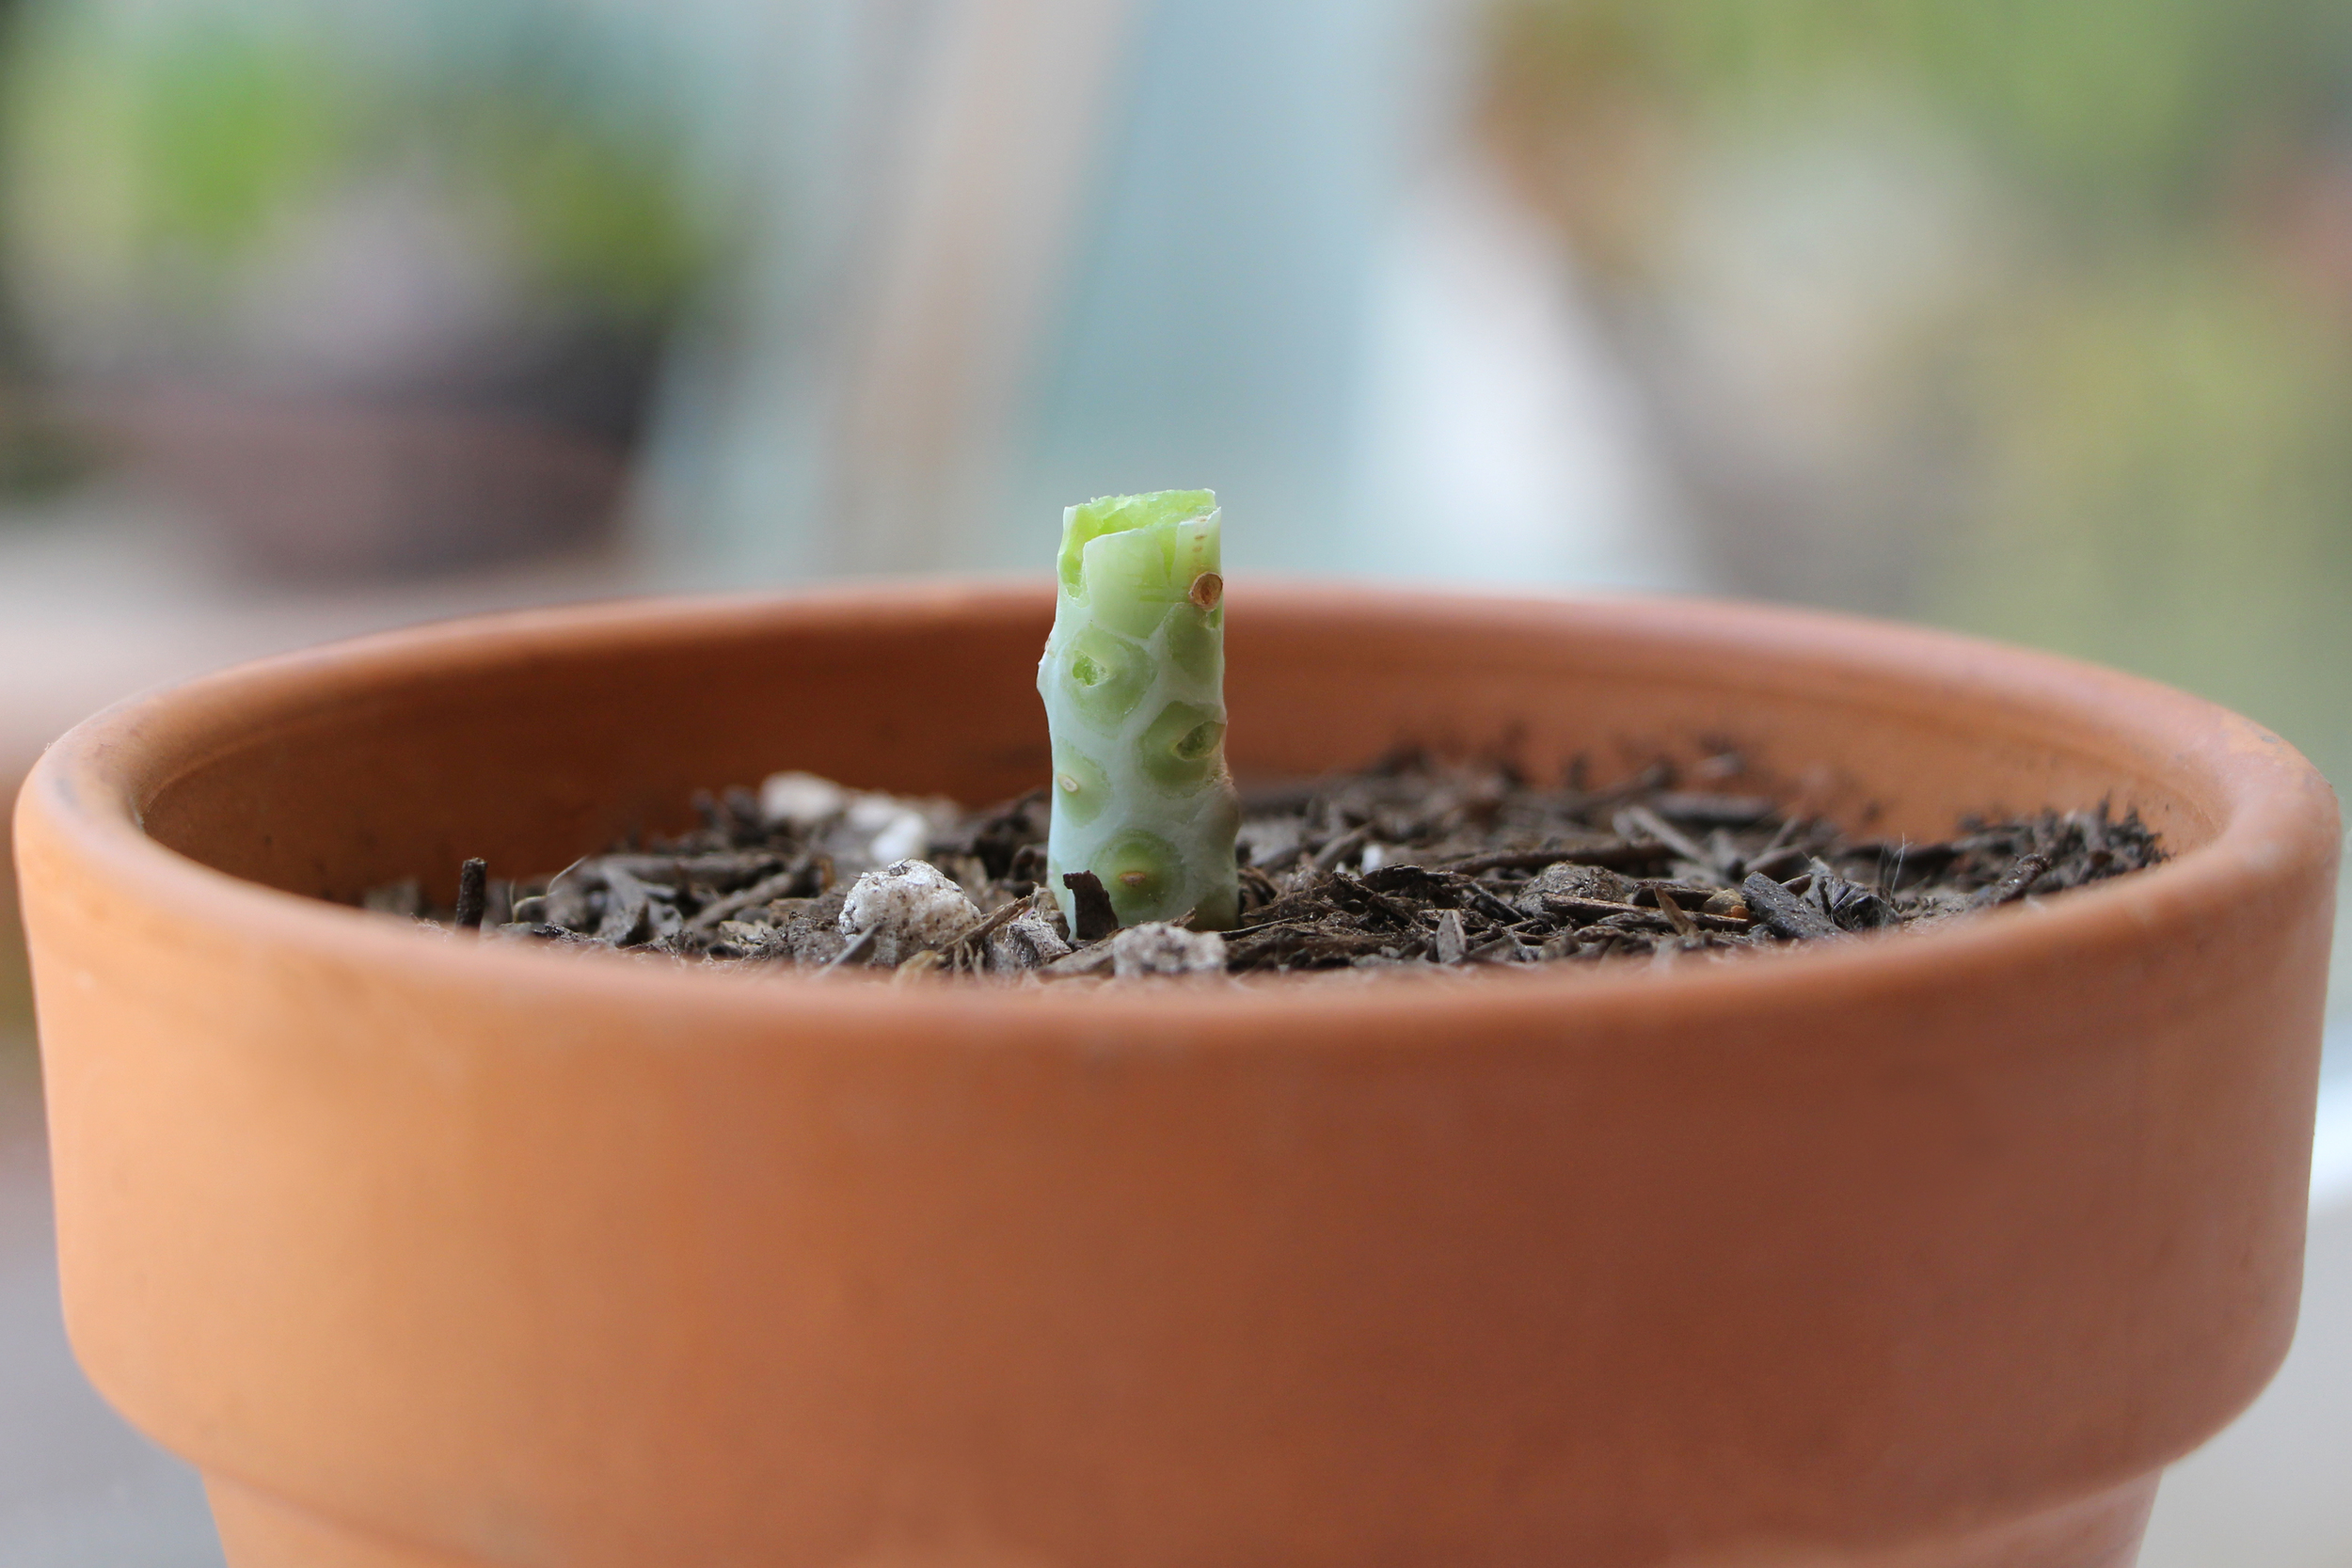
- Plant in dry mix. Insert the bare stem into the mix about 1 inch deep and firm the mix around it.
- Wait before watering. Give it a few days, then water lightly.
Watering stem cuttings
Stem cuttings do better with a little moisture once the cut end has calloused. The goal is lightly damp, not soggy.
- First watering: usually 3 to 7 days after planting
- After that: water only when the mix is fully dry
If your home is extremely dry or warm and the cutting is wrinkling fast, you can move up that first light watering a bit. If your home is humid, wait longer. You're aiming for steady rooting, not constant moisture.
How to tell it's rooted: give the cutting a gentle tug after 2 to 4 weeks. Resistance usually means roots are forming. You can also watch for new growth at the top.
Timing: Most stem cuttings root in about 2 to 6 weeks, depending on conditions and plant type.
Rooting hormone (optional): You usually don't need it for succulents. If you like using it, a light dip can help some stubborn stems, but too much plus too much moisture can backfire.
Method 3: Offsets (pups)
Offsets are baby plants that grow beside the parent. This is the easiest method when your plant produces them, and it gives you an instant little succulent instead of starting from a leaf.
Common offset producers include aloe, haworthia, sempervivum (hens and chicks), some kalanchoe species, and some cacti and euphorbia.
Step-by-step
- Find a pup with its own base. Bigger is better. If it already has roots, even better.
- Gently separate. If it pulls away cleanly, great. If not, use a clean knife to cut it from the parent.
- Let it callous. Usually 1 to 3 days, or until the cut area is dry and sealed.
- Pot it up. Plant in gritty mix, just deep enough to stabilize it.
- Water sparingly. Light watering after a few days, then only when dry.

Timing: Offsets often settle in quickly, usually within 1 to 3 weeks, especially if they already had roots.
Light while propagating
Bright light helps cuttings stay compact and encourages growth, but harsh direct sun can scorch unrooted pieces.
- Best: bright, indirect light, or gentle morning sun
- Indoors: near a bright window, rotated every few days so growth stays even
- Under grow lights: 12 to 14 hours per day usually works well. Distance and brightness matter, too. If props are stretching or staying pale, the light is probably too weak or too far away. If they're bleaching, it's too intense.
After rooting: gradually increase sun exposure over 1 to 2 weeks if the plant will live in stronger light. Sudden full sun is a common reason new props get burned.
Temp and humidity
Most succulents root best in warm, dry-leaning conditions.
- Ideal temperature: about 65 to 80°F
- High humidity: can increase rot risk, especially for leaf props
- Airflow matters: a room with gentle airflow helps the mix dry evenly
If your home is very humid, use extra grit in the mix and water less often than you think you should.
Common mistakes
1) Watering too soon
Fresh cuts plus wet mix is the fastest path to rot. Let cuttings callous, then start with minimal moisture.
2) Using heavy soil
Dense mixes hold water against the cutting. Add pumice or perlite so the mix drains fast.
3) Too much direct sun
Unrooted leaves and cuttings dehydrate and burn faster than established plants. Bright shade beats blazing sun.
4) Pulling leaves incorrectly
For leaf propagation, the leaf needs a clean base. If the base tissue is torn off, it often just shrivels instead of making a plant.
5) Propagating unhealthy material
Leaves from overwatered or pest-stressed plants are already struggling. Start with firm, healthy growth.
6) Expecting every leaf to succeed
Even under good conditions, not every leaf makes a plant. If you want two new plants, start five to ten leaves.
After your new succulent roots
Once the baby plant has a small root system and a few sets of leaves, you can treat it more like a normal succulent.
- Pot size: small pot with drainage is best, don't overpot
- Watering: soak thoroughly, then let the mix dry completely
- Light: gradually move into the brighter light your variety prefers
When to pot up leaf props
Move leaf babies to their own pots when the new rosette is sturdy enough to handle (think roughly coin-sized or bigger) and you can see it has its own roots anchoring into the mix. If it's still tiny and sitting loose on the surface, give it more time.
When to remove the mother leaf: don't. Let it dry up on its own. If it's still plump, it's still feeding the new plant.
Quick troubleshooting
Leaves shrivel and nothing happens
- Normal if the leaf was small or stressed
- Try brighter light and slightly warmer temps
- Start with more leaves to improve your odds
Cuttings turn black or mushy
- Too much water or not enough callousing time
- Mix too dense
- Cutting wasn't healthy to begin with
Roots form but the baby plant stalls
- Usually light related, move to brighter indirect light
- Very gently increase moisture once roots exist (then let it dry again)
A simple routine
If you want a no-drama approach, here's what I do at home.
- Take leaf or stem cuttings in the morning.
- Wipe tools with isopropyl alcohol before cuts.
- Let them callous on a plate on a shelf out of direct sun until the cut end is dry and sealed.
- Set them on gritty mix in a tray (or plant stems into the mix).
- Give bright window light or a grow light.
- Don't water for the first week for leaves, or the first few days for stems.
- After roots show, water lightly and let it dry fully each time.
Stick with that routine and you'll be surprised how quickly one plant turns into a whole windowsill of new ones.