How to Grow Tomatoes From Seed Indoors

Jose Brito
I’m Jose Britto, the writer behind The Country Store Farm Website. I share practical, down-to-earth gardening advice for home growers—whether you’re starting your first raised bed, troubleshooting pests, improving soil, or figuring out what to plant next. My focus is simple: clear tips you can actually use, realistic expectations, and methods that work in real backyards (not just in perfect conditions). If you like straightforward guidance and learning as you go, you’re in the right place.
Starting tomatoes from seed indoors is one of the easiest ways to grow varieties you cannot always find at the garden center. It also gives you sturdier plants at transplant time, as long as you nail the two big essentials: timing and light.
This guide walks you through the full process, from sowing to transplanting, and it covers the most common indoor seedling problems like leggy growth and damping off.
When to start tomato seeds indoors
A reliable rule is to start tomato seeds 6 to 8 weeks before your average last frost date. That usually gives you seedlings that are big enough to handle outdoor life, without becoming overgrown indoors.
- 6 weeks before last frost: good for fast growers and compact varieties
- 8 weeks before last frost: helpful if your house runs cool or your variety is slower
If you have very strong lights and warm, steady indoor conditions, you can sometimes start closer to 4 to 6 weeks before last frost. Tomatoes stall in cold soil, so even if you start early, you still wait to transplant until nights are reliably mild. If your seedlings are ready but the weather is not, you can slow growth a bit by keeping them slightly cooler and avoiding extra fertilizer.
What you need (simple setup)
You do not need anything fancy, but you do need clean containers and good light.
- Seeds: any tomato variety, plus a couple extras for germination backup
- Seed-starting mix: a light, sterile mix made for starting seeds
- Containers: cell packs, small pots, or reused cups with drainage holes
- Humidity cover: a dome or plastic wrap for germination only
- Watering tool: spray bottle, squeeze bottle, or a small watering can
- Light: a bright grow light is best, not a dim window
- Optional but helpful: heat mat, small fan, labels

Use the right seed-starting mix (and avoid garden soil)
Tomato seeds do best in a seed-starting mix that drains well and stays evenly moist. Avoid digging soil from the yard or using heavy mixes for germination. Dense mixes stay soggy longer and can crust or compact, which makes it harder for tiny roots to breathe. Garden soil also carries the highest risk of pathogens that trigger damping off.
Quick prep
- Pre-moisten the mix in a bowl until it feels like a wrung-out sponge.
- Fill containers and gently tap them to settle the mix. Do not pack it down hard.
- Label everything now. Tomato seedlings look very similar for the first few weeks.
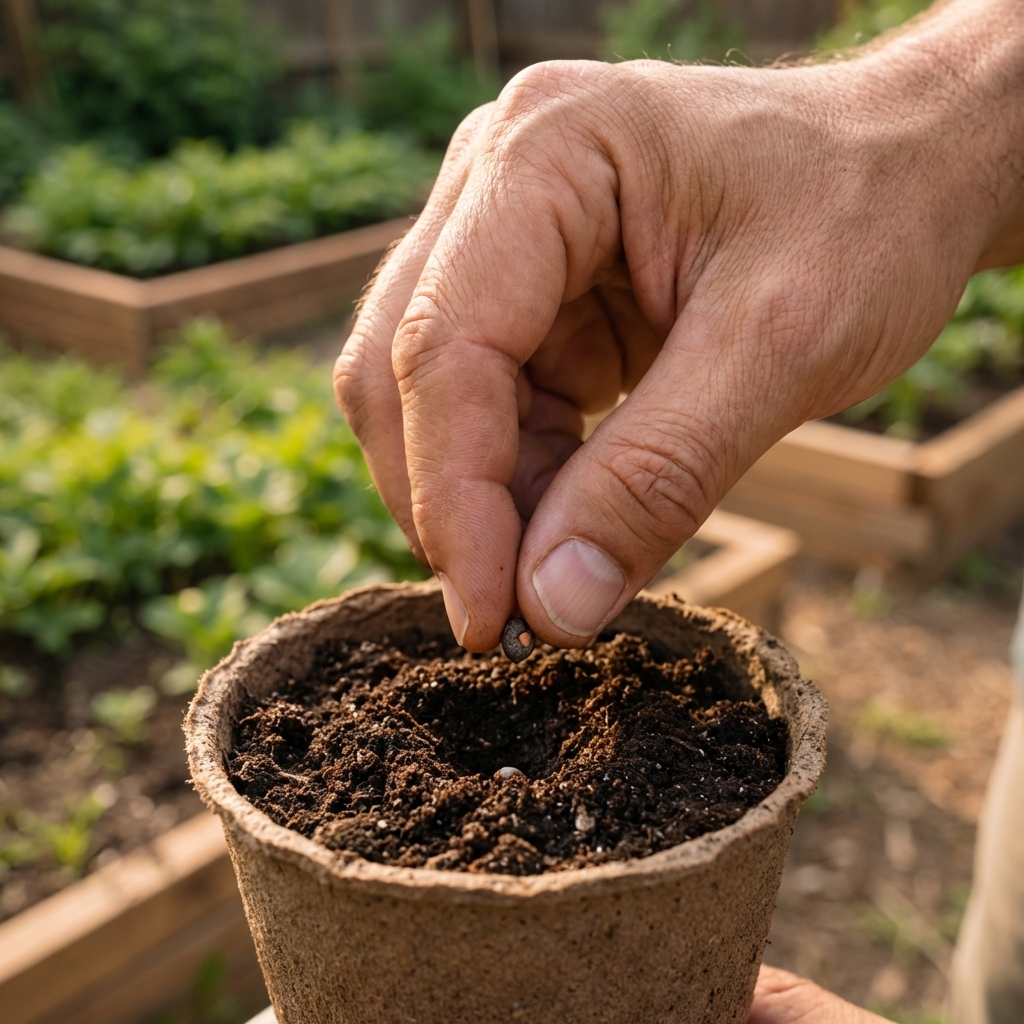
How to plant tomato seeds
Tomato seeds are straightforward. The goal is consistent moisture and warmth until you see sprouts.
- Sow depth: Plant seeds about 1/4 inch deep.
- How many per cell: 1 to 2 seeds per cell is plenty.
- Water gently: Mist or water lightly so you do not bury the seed deeper.
- Cover for humidity: Use a dome or plastic wrap until germination, then remove it as soon as most seeds sprout.
- Warmth: Aim for 70 to 80°F for fast germination. A heat mat helps, especially in cool homes. Turn the heat mat off (or remove the tray) as soon as you see sprouts so the mix does not dry too fast and seedlings do not get stressed.
Most tomato seeds sprout in 5 to 10 days, sometimes a bit longer depending on variety and temperature.
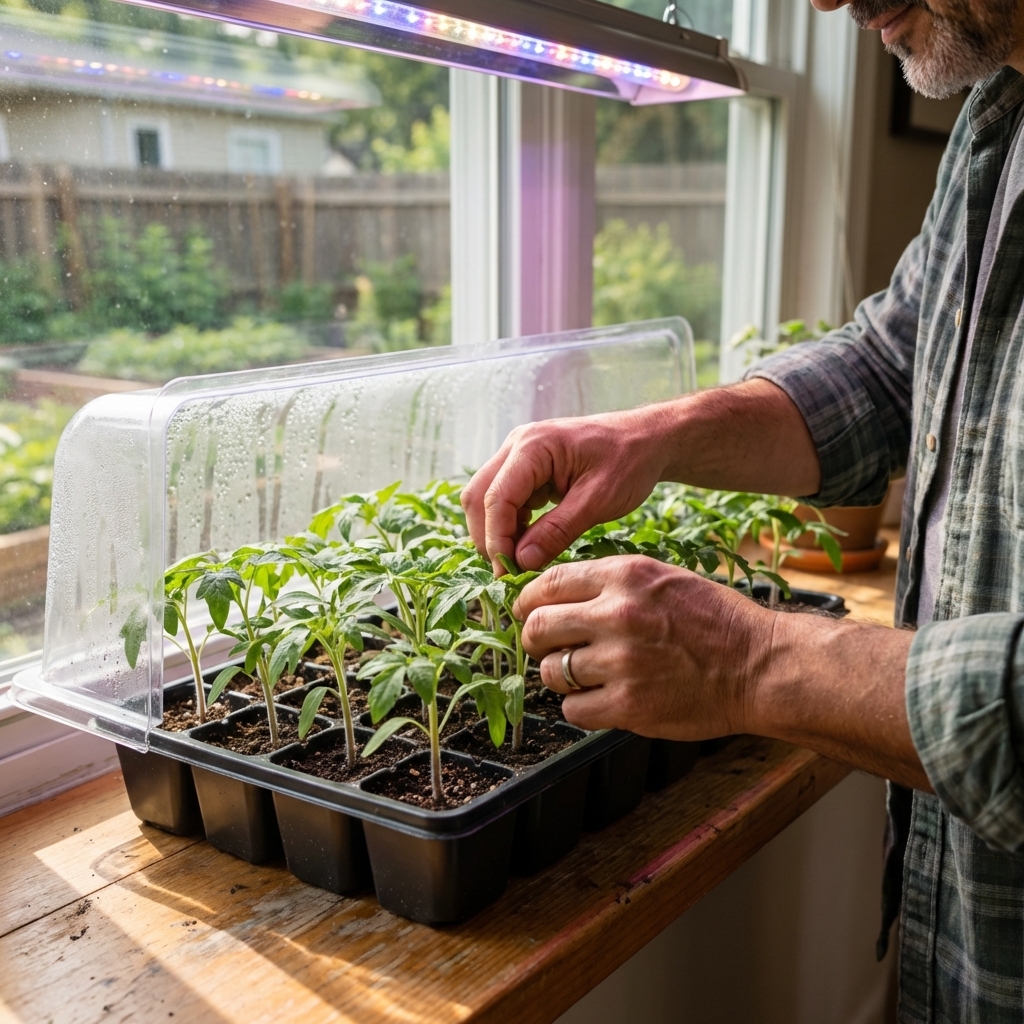
Light requirements (this is where most seedlings go wrong)
Tomato seedlings need intense light to stay short and sturdy. A sunny window usually is not enough on its own, especially in late winter and early spring.
Best practice with grow lights
- Turn lights on for 14 to 16 hours per day.
- Keep the light 2 to 4 inches above the seedlings (follow your fixture guidance).
- Raise the light as plants grow so the tops never stretch away from it.
- Aim for strong light without heat stress. If leaf tips bleach or curl, raise the light slightly.
If you only have a window
Use your brightest south-facing window and rotate trays daily. Expect some stretching. If you can add even a simple shop light or LED grow light overhead, you will see a big improvement.
Watering and airflow
Indoors, the trick is to keep the mix evenly moist without keeping it soggy. Too wet invites fungus. Too dry stalls growth.
- Water when the surface looks lighter in color and the container feels noticeably lighter.
- Bottom-watering works well. Set trays in a shallow pan of water for 10 to 20 minutes, then remove and drain.
- Once most seeds sprout, remove the humidity dome to reduce disease risk.
- A small fan on low nearby strengthens stems and helps prevent fungal issues.
After sprouting: temperature matters
Warmth helps germination, but seedlings often grow sturdier with slightly cooler temps after they pop up. Aim for roughly 65 to 70°F if you can, especially at night. It is a simple way to reduce legginess.
When to thin seedlings
If you planted two seeds per cell and both sprout, thin once you can clearly choose the stronger plant (often when the first true leaves start to form). Snip the weaker one at soil level with scissors. Pulling it can disturb the roots of the seedling you want to keep.
Potting up (moving to larger containers)
Tomatoes are forgiving and actually benefit from being planted deeper. Once seedlings have their first set of true leaves (not the first smooth seed leaves), they are ready to move up if roots are filling the cell or growth is stalling.
How to pot up tomatoes
- Move from cells into 3 to 4 inch pots (or similar size) with drainage holes.
- Use a quality potting mix for this step. Seed-starting mix is fine, but it is not required once plants have true leaves.
- Hold seedlings by a leaf, not the stem.
- Plant them deeper, burying the stem up to the first leaves. Tomatoes will grow roots along the buried stem.
- Water in well, then return under strong light.

When to fertilize tomato seedlings
Seed-starting mix has little to no nutrition. Your seedlings will be fine for a short time, but they will eventually need a small boost.
- Start feeding when the seedlings have 1 to 2 sets of true leaves.
- Use a half-strength balanced liquid fertilizer (or a fertilizer made for seedlings).
- Feed about once every 7 to 10 days, adjusting based on growth and leaf color.
If leaves are deep green and growth is steady, you are on track. If seedlings look pale and stalled, they likely need nutrients. If they are lush but weak and floppy, back off the fertilizer and improve light.
Common seedling problems (and what actually fixes them)
Leggy seedlings
What it looks like: long, thin stems that lean or flop over.
Most common cause: not enough light or the light is too far away.
- Move lights closer (again, typically 2 to 4 inches above seedlings, unless your fixture runs hot).
- Increase light duration to 14 to 16 hours per day.
- After germination, skip bottom heat and keep temps a bit cooler if possible.
- Add gentle airflow with a fan.
- When potting up, plant seedlings deeper to support the stem.
Damping off
What it looks like: seedlings suddenly collapse at the soil line. The stem looks pinched or water-soaked.
Why it happens: fungal pathogens thrive in wet conditions with poor airflow.
- Start with clean containers and fresh seed-starting mix.
- Remove humidity covers as soon as seeds sprout.
- Water less often and avoid keeping the surface constantly wet.
- Improve airflow with a small fan.
Unfortunately, once a seedling has damping off, it will not recover. Focus on prevention for the next round.
Slow or uneven germination
- Keep the soil warm, ideally 70 to 80°F.
- Do not let the mix dry out during germination.
- Old seed can germinate poorly. Plant a few extra if your seed is more than a couple years old.
Fungus gnats (optional but common)
What it looks like: tiny black flies hovering near trays, especially when you water.
- Let the surface dry slightly between waterings and bottom-water when possible.
- Use yellow sticky traps to catch adults.
- Make sure trays drain well and never sit in water.
Hardening off (do not skip this)
Indoor seedlings are pampered. Sun, wind, and temperature swings can shock them fast. Hardening off is the simple process of getting them used to the outdoors over about a week.
A simple 7 to 10 day hardening off plan
- Days 1 to 2: 1 to 2 hours outside in bright shade, protected from wind.
- Days 3 to 5: increase outdoor time, introduce gentle morning sun.
- Days 6 to 10: longer sun exposure and more wind, bringing them in if nights are cold.
If leaves bleach or get crispy, you moved too fast. Back up a step and give them shade again for a day or two.

When and how to transplant outdoors
Tomatoes go out after frost risk is past and nighttime temperatures are consistently comfortable. Many gardeners wait until nights are around 50 to 55°F or warmer for best early growth.
Transplant steps that help tomatoes take off
- Choose a sunny spot: 6 to 8+ hours of sun is ideal.
- Plant deep: remove lower leaves and bury the stem to encourage more roots.
- Water in well: soak the planting hole, then water again after planting.
- Support early: put in cages or stakes at planting time so you do not damage roots later.
- Mulch after the soil warms: mulch helps hold moisture and reduces splash-up disease.
If a cold snap is coming, cover plants overnight with frost cloth or a simple row cover and uncover in the morning.
Quick checklist
- Start seeds 6 to 8 weeks before last frost (sometimes 4 to 6 with strong lights).
- Use seed-starting mix, not garden soil.
- Keep germination warm and evenly moist.
- Use a heat mat for sprouting, then turn it off once seeds germinate.
- Give strong light 14 to 16 hours daily.
- Remove humidity cover after sprouting, add airflow.
- Pot up after true leaves appear, planting stems deeper.
- Fertilize lightly after 1 to 2 sets of true leaves.
- Harden off for 7 to 10 days before transplanting.