Aloe Vera Plant Care Guide

Jose Brito
I’m Jose Britto, the writer behind The Country Store Farm Website. I share practical, down-to-earth gardening advice for home growers—whether you’re starting your first raised bed, troubleshooting pests, improving soil, or figuring out what to plant next. My focus is simple: clear tips you can actually use, realistic expectations, and methods that work in real backyards (not just in perfect conditions). If you like straightforward guidance and learning as you go, you’re in the right place.
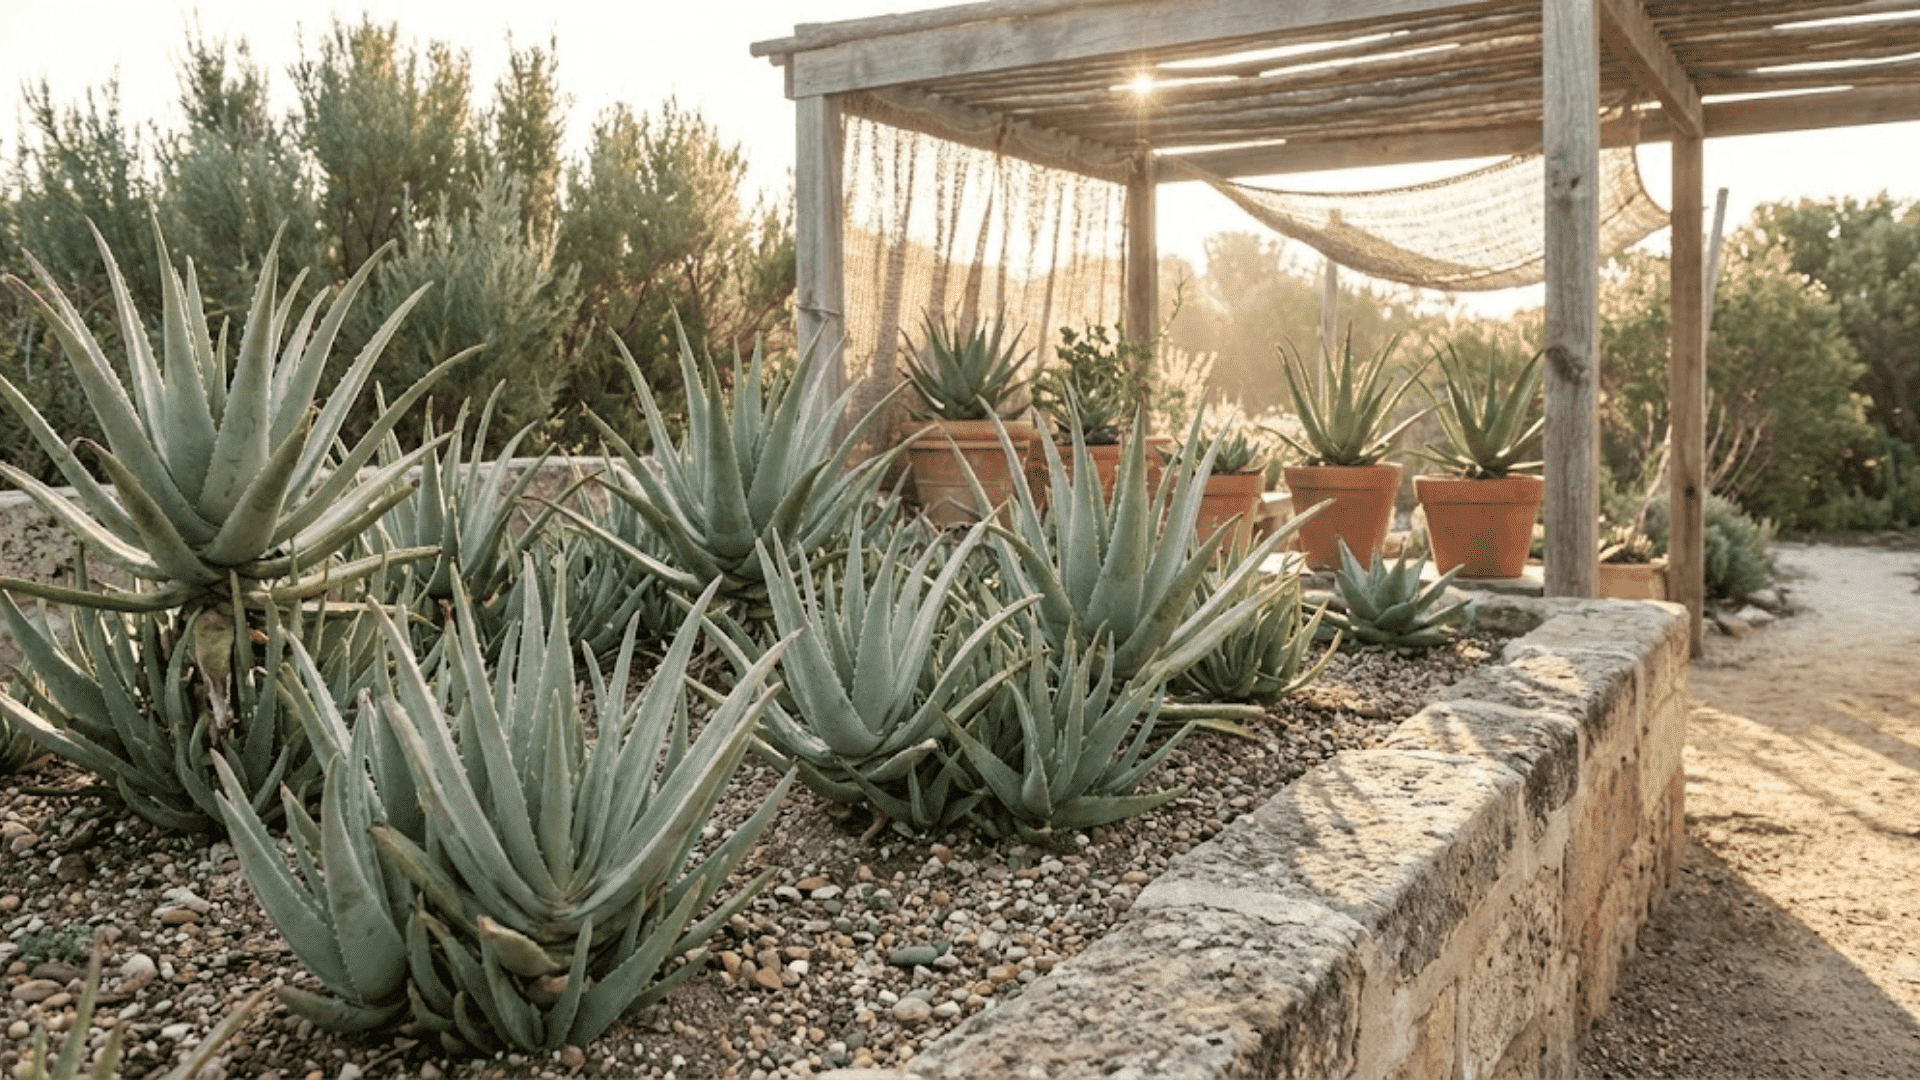
Aloe vera (Aloe barbadensis miller) is one of those rare plants that earns its space twice. It looks good on a sunny windowsill, and it is also handy to have around when you want a little fresh gel for minor skin irritation. The trick is treating it like what it is: a desert succulent that would rather be a little dry than a little wet.

Quick aloe vera basics
- Light: Bright light and some direct sun is best.
- Water: Deep but infrequent. Let the pot dry out fully.
- Soil: Fast-draining cactus-style mix.
- Best pots: Terracotta with a drainage hole.
- Biggest mistake: Overwatering, especially in winter.
Indoor aloe vera care
Light by a window
Aloe wants strong light indoors. A south- or west-facing window is usually ideal. If your aloe is stretching tall, leaning hard toward the glass, or turning pale green, it is asking for more light.
If you move a plant from low light to strong sun, do it gradually over 7 to 10 days. Sudden full sun can cause sunburn that shows up as tan or brown patches.
Temperature and airflow
Typical home temperatures work great, and aloe can handle warmth just fine. The bigger issue is cold. Try to keep it above about 50°F (10°C), and never let it freeze. Keep it away from cold drafts and do not let leaves press against a freezing window in winter. A little airflow helps the soil surface dry faster and can reduce root rot, fungal issues, and pest pressure in consistently damp setups.
Watering schedule that actually works
Instead of watering on a calendar, water based on dryness.
- Check the pot by lifting it. Dry pots feel noticeably lighter.
- Stick a finger 2 inches down. If it feels cool or damp, wait.
- When you do water, soak the soil thoroughly until water runs out the drainage hole, then empty the saucer.
Typical timing indoors:
- Spring and summer: About every 2 to 4 weeks depending on light and heat.
- Fall and winter: About every 4 to 8 weeks. Sometimes longer in low light homes.
If you are torn between watering now or later, choose later. Aloe handles dry better than wet.
Once you have the indoor basics down, moving aloe outdoors is mostly about sun, rain, and temperature.
Outdoor aloe vera care
Aloe vera can grow outside year-round in warm climates, roughly USDA zones 9 to 11. If you get frost, treat aloe as a patio plant and bring it in before nights dip near 50°F (10°C).
Best outdoor light
Outdoors, aloe likes bright light with some direct sun. In very hot areas, harsh afternoon sun can scorch leaves, especially if the plant was raised indoors. Morning sun with afternoon shade is a safe starting point.
Rain and drainage
Outdoor rain is where aloe often gets into trouble. If your region has rainy seasons, plant aloe in a raised, fast-draining spot or keep it in a pot you can move under cover. Soggy soil for multiple days is a fast track to rot.
Cold protection
Aloe vera is not frost tolerant. If a cold snap is coming:
- Move potted aloe indoors.
- If planted in-ground in a borderline climate, cover it with frost cloth and keep the crown as dry as possible.
The best soil mix for aloe vera
Aloe roots need air as much as they need water. The goal is a mix that drains fast and does not stay wet around the roots.
Simple DIY mix
- 2 parts cactus or succulent potting mix
- 1 part perlite or pumice
- Optional: a handful of coarse sand for extra drainage
If your store-bought succulent mix still feels peat-heavy and stays wet for days, cut it with more perlite or pumice.
Pot choice matters
Use a pot with a drainage hole. Terracotta is forgiving because it breathes and dries quicker. Avoid oversized pots. Extra soil holds extra water, which is the opposite of what aloe wants.
Repotting aloe
Aloe does not need frequent repotting, but it appreciates fresh, fast-draining mix once in a while.
- How often: About every 2 to 3 years, or sooner if it is severely pot-bound.
- Best time: Spring or early summer.
- Signs it is time: Roots circling tightly, pups crowding the pot, water running straight through, or the plant feeling top-heavy.
When you repot, move up just one pot size, shake out old soil, and replant in dry mix. Wait about a week before watering so any disturbed roots can settle.
Fertilizing aloe (less is more)
Aloe does not need much fertilizer. If you want faster growth, feed lightly in spring or early summer.
- Use a balanced houseplant fertilizer diluted to 1/4 strength.
- Fertilize once or twice a year, not monthly.
- Do not fertilize in winter when growth slows.
Propagating aloe vera pups
Healthy aloe plants produce offsets called pups. This is the easiest way to get new plants that look just like the parent.
When to separate pups
Wait until a pup is about 4 inches tall and has a few roots of its own. Smaller pups can survive, but they stall more often.
Step-by-step pup propagation
Stop watering for a few days so the soil is drier and easier to work with.
Slide the plant out and gently brush soil away from the base.
Separate the pup using your fingers or a clean knife, trying to keep roots attached.
Let any cuts dry for a few hours to a day so they callus over.
Pot the pup in dry, well-draining mix.
Wait 5 to 7 days to water, then water lightly. After that, return to deep, infrequent watering.

Common aloe problems and fixes
Mushy, translucent leaves
This is the classic sign of overwatering or root rot.
- Stop watering immediately.
- Unpot the plant and check roots. Healthy roots are firm and pale. Rotten roots are brown, soft, and smelly.
- Trim rotten roots with a clean tool.
- Repot into dry, fast-draining mix in a pot with drainage.
- Wait about a week before watering again.
Brown tips
Brown tips are usually one of these:
- Underwatering: Long dry spells can crisp tips. Water deeply, then let it dry again.
- Salt buildup: Fertilizer or hard water can burn tips. To flush the pot, run room-temperature water through the soil steadily for 1 to 2 minutes (or until it drains freely and abundantly), then let it drain completely. Avoid heavy feeding.
- Too much sun too fast: If it happened after moving outdoors, give light shade and acclimate gradually.
Leaves bending or falling over
Most often this is not enough light. Aloe leaves will stretch and weaken in dim rooms. Move it to a brighter window or add a grow light.
Soft base, bad smell, plant collapsing
This points to advanced rot. Sometimes you can save the plant by removing healthy top growth and re-rooting, but aloe does not always bounce back. If the center crown is mushy, it is usually too far gone.
White spots and dusty coating
Aloe naturally has speckling depending on the variety, and many plants sold as “aloe” are different species or hybrids with similar care. But if you see cottony clumps in leaf joints, that is likely mealybugs.
- Isolate the plant.
- Wipe pests off with a cotton swab dipped in 70% isopropyl alcohol.
- Repeat weekly until gone.
You may also run into scale (firm bumps along leaves) or spider mites (fine webbing, stippled leaves), especially in very dry indoor air. The same basics help: isolate, wipe down the plant, and repeat treatments until the pests stop returning.
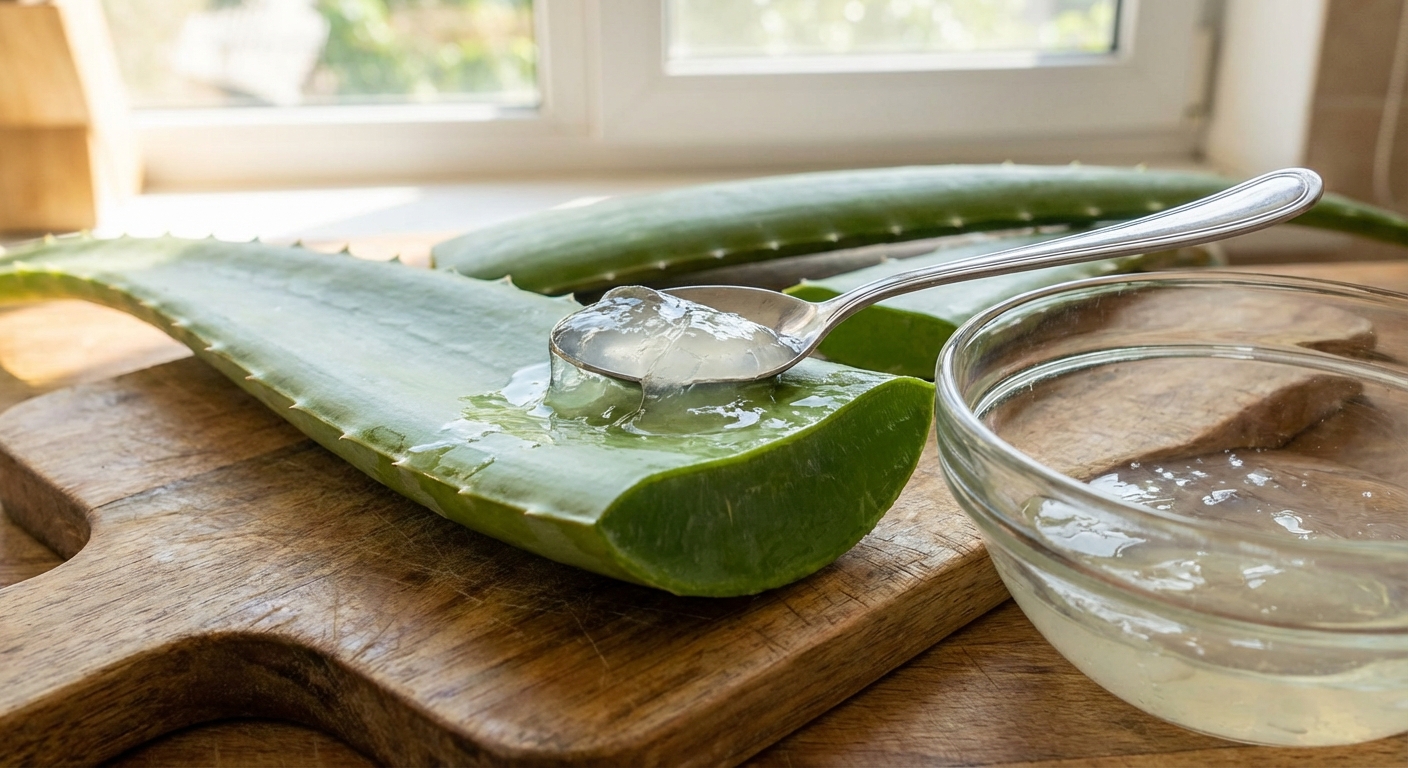
How to harvest aloe gel (without hurting the plant)
Harvesting is simple, but a little care keeps the plant healthy and the gel cleaner.
Pick the right leaf
- Choose an outer, lower leaf. These are older and contain more gel.
- Avoid taking too many at once. For small plants, harvest one leaf at a time.
Cut and drain the yellow sap
Use a clean knife and cut the leaf close to the base. Then let it sit upright in a cup for 10 to 15 minutes. This drains the yellow latex (often called aloin). That latex can be irritating to skin, can stain fabrics, and is especially unpleasant if ingested due to its strong laxative effect.
Extract the gel
- Rinse the leaf.
- Slice off the spiny edges.
- Peel one side of the skin away.
- Scoop out the clear gel with a clean spoon.
Use it fresh, or store gel in a sealed container in the refrigerator for about 3 to 7 days. Discard it if it smells off, changes color, or you suspect it was contaminated by a dirty knife or cutting board.
Aloe as decor and as a home remedy ingredient
Aloe vera earns its popularity because it is both attractive and useful. The upright, sculptural leaves look great in simple pots, especially terracotta or matte ceramic. And having a living plant on hand means you can grab a small amount of gel when you need it.
Common home uses: People often use aloe gel topically for minor skin irritation and as a soothing ingredient in DIY skin routines.
Common sense note: Patch test first if you have sensitive skin, and do not use aloe on serious burns or wounds. Avoid ingesting aloe latex, and do not ingest aloe gel without medical guidance. If you have pets, keep aloe out of reach since it can cause stomach upset if chewed.
My simple routine for a happy aloe
- Keep it in the brightest spot you have.
- Use a gritty mix and a pot with a drainage hole.
- Water deeply, then wait until it is fully dry.
- Separate pups when they are big enough and give them their own pots.
- If something looks wrong, assume watering or light first.
If you get those basics right, aloe vera is one of the most forgiving plants you can grow, and one of the most satisfying to have around.